Installing an intelligent solar energy alert PTZ camera takes about two to three hours and requires only basic DIY skills, giving you 24/7 oversight of your solar panels and battery system without relying on grid power. These cameras run entirely on solar energy and send real-time notifications to your phone when they detect equipment issues, weather events, or power outages, which means you’ll know exactly what’s happening with your system even when the lights go out.
For homeowners who’ve invested in residential solar basics these cameras offer something traditional security systems can’t match: continuous monitoring that doesn’t stop when grid power fails. The PTZ function lets you remotely pan, tilt, and zoom to inspect specific panels, inverters, or battery connections from your smartphone, while the built-in motion detection and alert system notifies you if falling branches, animals, or other hazards threaten your equipment during storms.
What makes these cameras particularly valuable for solar owners is their independence. They charge themselves, store their own power, and keep working through multi-day outages when you need visibility most. You’ll be able to verify that your solar system survived a weather event, check whether panels need cleaning after a dust storm, or confirm your battery is charging properly, all without leaving your home or waiting for an installer.
This guide walks you through choosing the right mounting location, connecting the camera to your home network, configuring smart alerts, and testing the system under simulated outage conditions so you can trust it when you need it.
What You’ll Need to Get Started
Before you climb onto the roof or start drilling holes, gather everything you need. Having all your equipment ready saves time and prevents mid-installation trips to the hardware store.
Core Equipment
The intelligent solar energy alert PTZ camera is your main component. Look for models with built-in motion detection, temperature monitoring, and real-time alert capabilities. Verify the camera supports outdoor weatherproofing (at minimum IP65 rating) since it’ll monitor your solar panels through rain, snow, and intense sun.
Your camera needs network connectivity to send alerts during outages. Most PTZ cameras work over Wi-Fi, but a hardwired Ethernet connection offers more reliability when the power grid goes down. Check your router’s location relative to where you’ll mount the camera, you may need a Wi-Fi extender or powerline adapter if the distance exceeds 50 feet.
Download the manufacturer’s mobile app before installation day. You’ll need it to configure alerts, adjust camera angles remotely, and receive notifications when something triggers monitoring zones.
Installation Materials and Tools
- Mounting bracket compatible with your chosen surface (masonry, wood siding, or metal roof)
- Stainless steel screws and weatherproof anchors rated for outdoor use
- Power drill with appropriate bits for your mounting surface
- Screwdriver set and adjustable wrench
- Weatherproof cable glands and silicone sealant
- Cable clips or conduit if running wires externally
- Ladder tall enough to reach your installation point safely
- Voltage tester for checking nearby electrical connections
Optional but Recommended
A small uninterruptible power supply (UPS) keeps your camera running during short outages. For extended grid failures, consider a dedicated solar charging panel (5-10 watts) with a battery bank specifically for the camera. This ensures continuous monitoring even when your main solar system experiences issues.
Safety First: Pre-Installation Precautions
Before you mount any camera near your solar installation, you need to understand the unique safety risks involved. Solar panels generate electricity whenever light hits them, even on cloudy days, which means you’re working around live electrical equipment that can’t simply be switched off.
Never touch exposed wiring, connectors, or the back of solar panels. Always assume all components are live. If your camera installation requires you to move, adjust, or work near any solar wiring or equipment, shut down the system at the inverter disconnect switch first and verify it’s safe with a non-contact voltage tester.
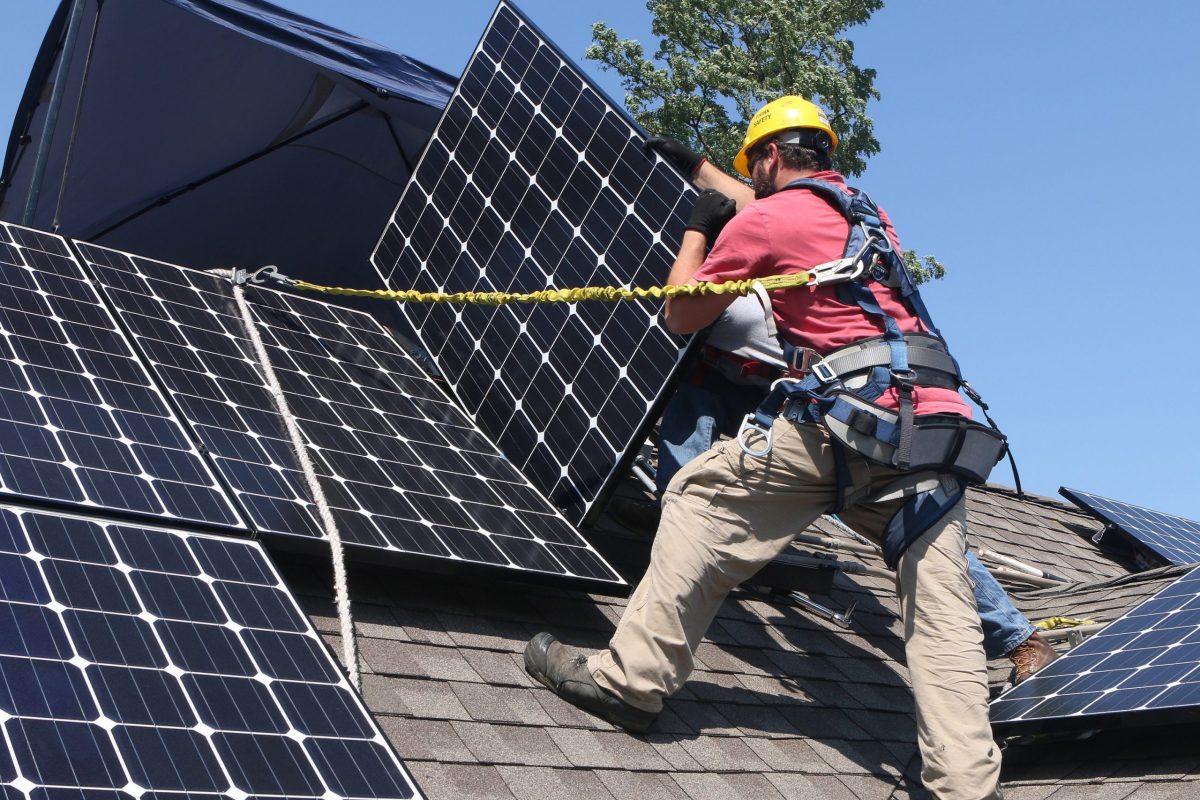
Working at heights presents its own hazards. If your installation requires a ladder taller than six feet or involves roof work, use proper fall protection equipment. Roofs can be slippery, especially near solar panels where morning dew accumulates, and walking on panels themselves will void warranties and potentially crack the glass.
Check the weather forecast before starting. Never work on outdoor electrical installations during rain, strong winds, or storms. Wet conditions dramatically increase electrical shock risk, and unstable weather makes ladder work dangerous. Even humidity can affect your camera’s initial setup if you’re making electrical connections outdoors.
Know your limits. If your solar system is three-phase, if panels are mounted in hard-to-reach locations, or if you’re uncertain about any aspect of the installation, professional help is worth the cost. A qualified installer carries insurance, has the right safety gear, and can complete the job in a fraction of the time while ensuring your warranty remains intact.
Step-by-Step Installation Process
Step 1: Choose the Optimal Camera Location
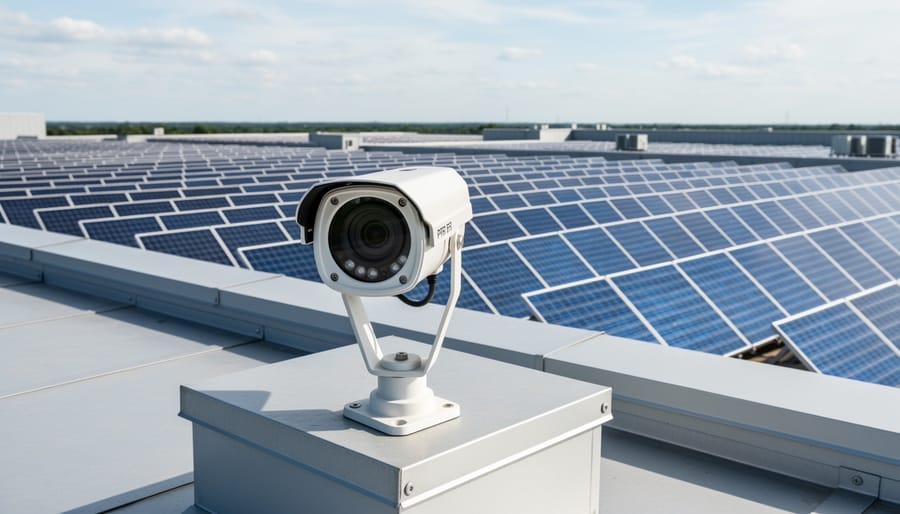
Start by surveying your property from ground level to identify spots that offer unobstructed views of your solar panels, inverter, and battery system. Your camera needs to capture all critical components in its pan-tilt-zoom range, so choose a location where the camera can rotate to monitor each piece of equipment without walls or vegetation blocking the view.
Network connectivity is just as important as sight lines. The camera must maintain a strong Wi-Fi signal to send alerts during outages. Use your phone’s Wi-Fi analyzer app to check signal strength at potential mounting spots, you need at least three bars for reliable performance. If your solar equipment sits far from your router, consider mounting the camera closer to a mesh network node or installing a weatherproof Wi-Fi extender.
Avoid mounting directly opposite reflective solar panel surfaces, which can cause glare and wash out daytime footage. A slightly angled position, viewing panels at 30 to 45 degrees rather than straight-on, delivers clearer images. Consider seasonal sun angles too; a spot with good visibility in summer might face blinding backlight in winter months.
Step 2: Mount and Secure the Camera
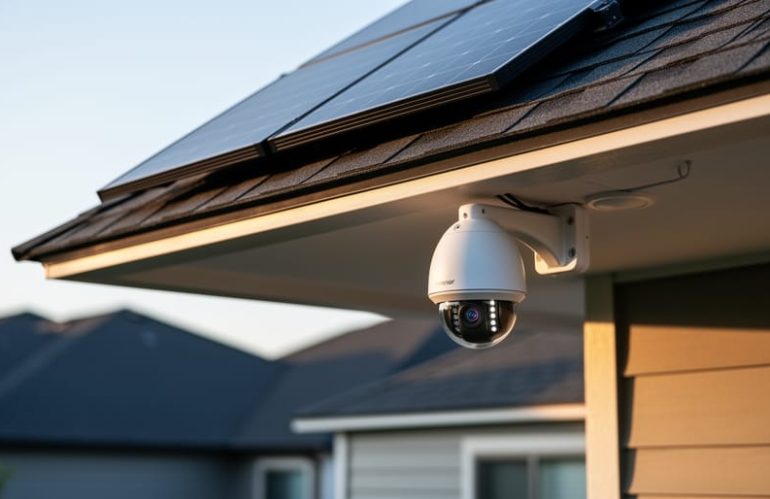
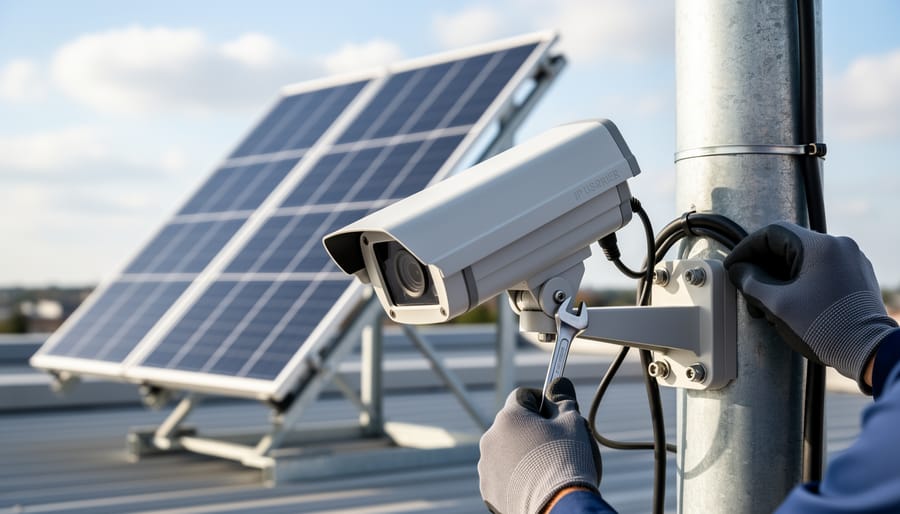
Once you’ve chosen your location, it’s time to get the camera physically installed. Start by holding the mounting bracket against your selected surface and marking the screw holes with a pencil. For wood surfaces like eaves or fascia boards, you can drill directly into the material using the provided screws. Brick or concrete walls require masonry drill bits and wall anchors, drill the holes, tap in the anchors, then secure the bracket firmly.
Before attaching the camera itself, route your cables through the bracket’s cable management channels. This keeps everything tidy and prevents water from running down loose wires into the housing. Thread the power cable and network cable (if using wired connection) through the bracket, leaving enough slack for the PTZ mechanism to move freely.
Mount the camera to the bracket according to the manufacturer’s instructions, typically with a locking ring or set screws. Make sure all weatherproof gaskets are properly seated, these rubber seals protect the camera’s electronics from moisture. Apply a small bead of silicone sealant around cable entry points for extra protection, especially if your camera will face driving rain.
Step 3: Connect to Your Network
Once your camera is securely mounted, it’s time to bring it online. Most intelligent PTZ cameras offer two connection options: Wi-Fi or Ethernet cable. If your installation location is within 50 feet of your router and has strong signal strength, Wi-Fi works perfectly. For areas with spotty coverage or if you prioritize reliability during outages, run an Ethernet cable instead.
Start by powering up the camera. If it’s solar-powered, ensure the panel is receiving sunlight. Battery-backed models should show a power indicator light within 10-30 seconds. Download the manufacturer’s mobile app and create an account if you haven’t already.
Open the app and tap “Add Device” or the plus icon. Most cameras enter pairing mode automatically on first power-up, indicated by a blinking blue or green light. The app will scan for nearby devices. When your camera appears, select it and follow the prompts to connect it to your Wi-Fi network. You’ll need your network name and password handy.
For Ethernet connections, simply plug the cable into the camera’s port. The app should detect the hardwired connection automatically, skipping the Wi-Fi setup steps entirely.
Step 4: Configure Smart Alerts and Monitoring Zones
Once your camera is online, it’s time to configure the smart features that actually make it useful during an outage. Open your camera’s mobile app and navigate to the settings menu, this is where you’ll define exactly what the camera watches and when it alerts you.
Start by setting up monitoring zones. Use the app’s zone drawing tool to outline specific areas: your solar panels, inverter box, battery system, and any connection points. Most apps let you create multiple zones with different sensitivity levels. Set high sensitivity for critical equipment like the inverter display (so you catch status light changes) and moderate sensitivity for the panels themselves. This targeted approach prevents alert fatigue from trees swaying in the background.
Next, configure motion detection parameters. Adjust the sensitivity slider, too high means constant false alarms from insects or leaves, too low means you’ll miss actual issues. Set a detection delay of 3-5 seconds to filter out momentary shadows. If your camera offers person detection, enable it to catch unauthorized access to your solar equipment.
For temperature alerts (if your model supports thermal imaging), set thresholds based on your inverter’s specs. Most inverters should stay below 140°F during normal operation, configure an alert if it exceeds 160°F, which could signal overheating during an outage restart.
Finally, customize notifications. Enable push alerts for zone breaches and temperature spikes, but consider setting “quiet hours” overnight unless you want 3 a.m. notifications about raccoons.
Step 5: Integrate with Your Smart Home System
With your camera operational, it’s time to connect it to your broader smart home setup so your home automation works as one cohesive system during outages.
Open your preferred platform, Google Home, Alexa, or Apple HomeKit, and add the camera through its native integration or a compatible third-party skill. Most modern PTZ cameras support multiple ecosystems, though you may need to enable specific permissions in the camera’s app first.
Next, create automation rules tailored to outage scenarios. For example, set your camera to automatically pan to your solar inverter when your smart home detects a grid disconnect, or trigger a spotlight if motion is detected near your battery bank after dark. These automations turn passive monitoring into active protection.
The real power comes when you make your solar devices communicate with your camera. Link your solar inverter’s monitoring app to your camera system so that inverter alerts, like unexpected shutdowns or battery warnings, simultaneously trigger camera recording and send you both alerts together. Some advanced setups using Z-Wave automation can even coordinate camera positions with specific equipment status changes.
This integration means you’ll see what’s happening the moment something goes wrong, not just get an abstract notification about system performance.
Testing Your Setup and Confirming It Works
Now that your camera is mounted and configured, you need to confirm everything works as intended before relying on it during an actual outage. Proper testing now prevents unpleasant surprises when you need the system most.
Start with a systematic verification process:
- Open your mobile app and test the PTZ controls, pan left and right across your solar panels, tilt up and down to check inverter displays, and zoom in to confirm you can read equipment labels and status lights clearly.
- Review recorded footage from both daytime and nighttime to verify image quality. Check that solar panels are visible in daylight and that night vision illuminates critical components like inverter LED indicators.
- Walk into each monitoring zone you configured and confirm the camera detects movement and sends an alert to your phone within 30 seconds. Adjust sensitivity if you’re getting false alerts from swaying trees or if legitimate motion goes undetected.
- Trigger a test notification by manually activating an alert through the app’s settings. This confirms your notification permissions are correct and alerts will reach you reliably.
- Simulate an outage scenario by flipping your main breaker (if safe to do so) or unplugging the camera briefly to see if it reconnects automatically and resumes monitoring when power returns.
Pay special attention to network stability during testing. If the camera drops its connection or takes several minutes to reconnect after a simulated outage, you may need to strengthen your Wi-Fi signal in that area or consider hardwired Ethernet for more reliable monitoring.
Check your smart home integration by asking your voice assistant to show the camera feed. If it doesn’t respond or shows an error, revisit the linking process between your camera and smart home platform. Test any automation rules you created, for example, if you set the camera to record continuously when your solar inverter goes offline, verify that trigger actually initiates recording.
What to Do Next: Optimizing Your Solar Resilience
Now that your camera is monitoring your solar system, take these steps to maximize your energy resilience.
Schedule quarterly camera maintenance checks. Clean the lens housing every three months, dust and pollen reduce visibility by up to 40%. Check mounting bolts for looseness, especially after storms. Update the camera’s firmware when prompted to ensure optimal performance and security.
Consider adding backup power specifically for your camera. A small UPS battery keeps your monitoring active during the first hours of an outage, when you need visibility most. Look for units with at least four hours of runtime, enough to verify your solar system’s status and capture critical footage.
Create a weekly monitoring routine. Every Sunday evening, review saved footage for unusual patterns around your panels or inverter. Temperature fluctuations, unexpected shadows, or debris accumulation often show up on video before they affect system performance. This proactive approach helps you catch issues early.
Use your camera footage as a troubleshooting tool. When solar production drops unexpectedly, review the day’s recordings. You’ll often spot the cause, tree branch shade, bird droppings on panels, or inverter indicator lights changing color. Share this footage with your solar installer to speed up repairs.
Connect your monitoring strategy to a broader understanding of how solar works in your home. Pair camera alerts with your inverter’s monitoring app and home battery status. This complete visibility turns your smart home into a true energy command center.
Common Questions About Solar Monitoring Cameras
Homeowners often have similar concerns when choosing a solar monitoring camera for outage scenarios. Here are the most common questions and their practical answers.
How much power does the camera itself use, and can it run during an outage?
Most intelligent PTZ cameras consume 5-15 watts, depending on active features. If your camera runs on solar power or connects to your home battery backup system, it’ll continue operating during grid outages as long as those power sources remain active.
Does night vision work well enough to monitor solar equipment in the dark?
Yes, modern PTZ cameras include infrared night vision that captures clear footage up to 100 feet, allowing you to monitor your solar panels, inverters, and battery systems around the clock. Some models also offer color night vision with built-in spotlights.
Where is the camera footage stored, and what happens if my internet goes down?
Most cameras offer local storage via SD card (typically 128GB to 256GB) plus cloud backup options. During internet outages, footage saves locally and syncs to the cloud once connectivity returns, ensuring you won’t lose critical monitoring data.
Can I get alerts if both power and Wi-Fi fail?
Some advanced models include cellular backup with a built-in SIM card slot, allowing alerts to reach your phone even when home internet is down. This requires a data plan but ensures continuous monitoring during complete infrastructure failures.
Another frequent concern involves compatibility with existing solar monitoring systems. The good news: most intelligent PTZ cameras work independently of your solar equipment’s brand, communicating through standard Wi-Fi protocols and smart home platforms. You don’t need matching brands to get alerts about your solar system’s status.
Storage duration depends on your recording settings and card capacity. Continuous recording at 1080p typically fills a 128GB card in 3-5 days, while motion-triggered recording can extend that to several weeks. You can adjust video quality and frame rates to balance storage capacity with your monitoring needs.
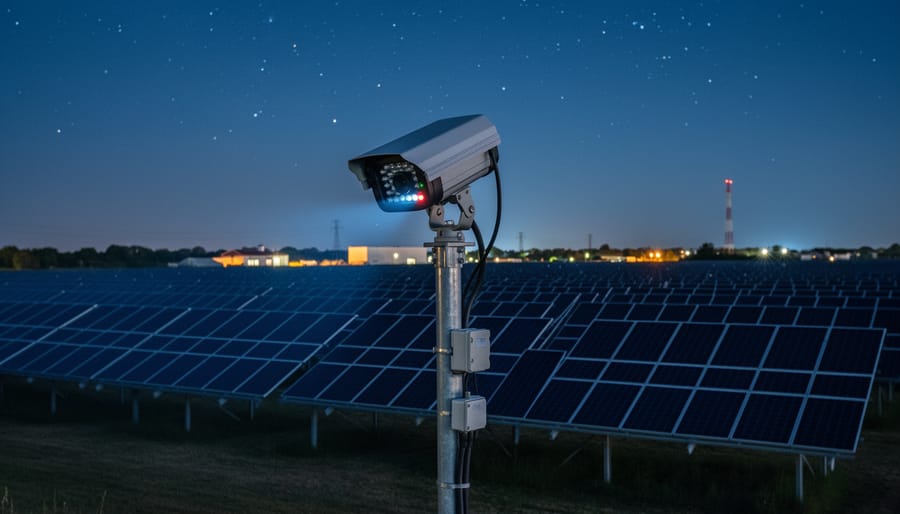
By installing this monitoring system, you’re taking a proactive step toward true energy independence. When severe weather hits or grid instability strikes your neighborhood, you won’t be left wondering whether your solar panels, inverters, and batteries are functioning properly. The camera gives you eyes on your entire solar setup from anywhere, turning uncertainty into actionable information.
This technology isn’t just about watching equipment, it’s about building resilience into your home energy strategy. Combined with battery storage and smart load management, continuous solar monitoring creates a safety net that helps you ride out outages with confidence. You’ll catch potential issues before they become expensive problems, verify your system is generating power when you need it most, and have documented proof if warranty claims become necessary.
The setup process might seem technical at first glance, but following the steps outlined above makes it manageable for most homeowners. You’ll be surprised how quickly the system becomes second nature, and the first time you receive an alert during an outage confirming your solar array is still producing power, you’ll appreciate the investment. That’s the real benefit, not just technology for its own sake, but genuine peace of mind knowing your home’s energy backbone is protected and monitored.