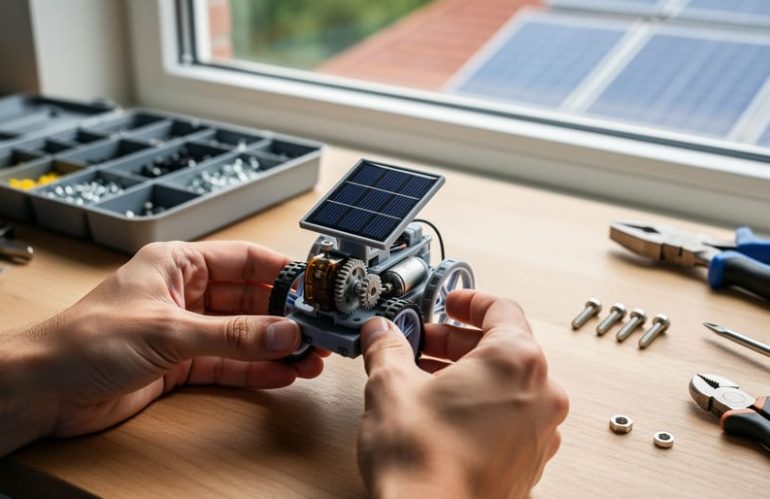
Building a solar robot from a creation kit teaches fundamental engineering principles while demonstrating how renewable energy powers automation. These hands-on kits mirror the same solar technology used in professional solar installations making them perfect for anyone curious about sustainable energy systems.
Your kit transforms sunlight into mechanical motion through photovoltaic cells, gears, and motors. No batteries required. The process takes 30 to 90 minutes depending on the model, and you’ll gain practical understanding of how solar panels convert light into usable electricity.
Before opening your kit, clear a well-lit workspace and gather basic tools: small Phillips screwdriver, needle-nose pliers, and tweezers for handling tiny components. Natural sunlight works best for testing, though bright LED lamps suffice indoors.
Most kits include 50 to 200 parts that snap or screw together. The solar panel serves as the brain, capturing photons and generating current that flows to a small motor. This same principle scales up to rooftop arrays that power entire homes, just with industrial-grade components and professional installation.
The beauty of these kits lies in their simplicity. You’re not just following instructions. You’re discovering how sustainable technology works at its core, piece by piece, until your creation moves on its own under the sun’s power.
What’s Inside a Solar Robot Creation Kit
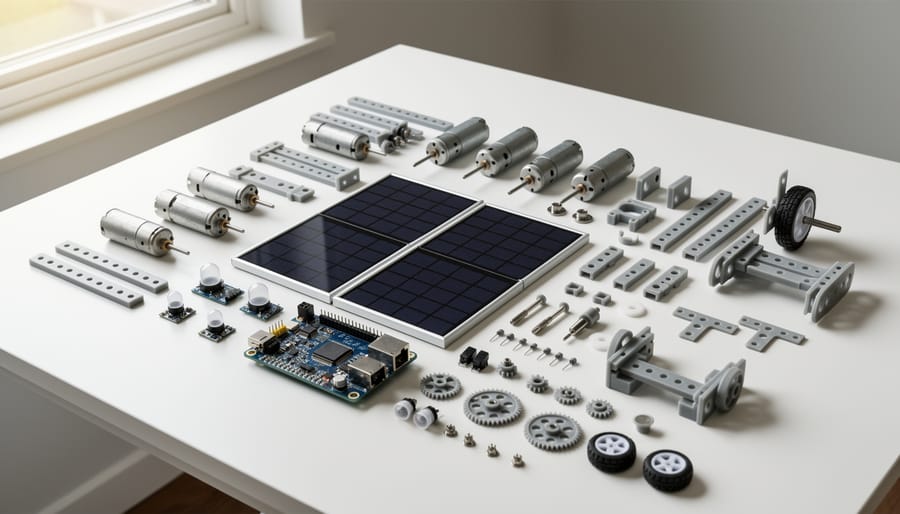
Opening a solar robot creation kit reveals a collection of carefully chosen components that work together to harness sunlight and create movement. Think of it as a miniature version of the technology that’s transforming how homes generate their own electricity. These kits typically contain everything you need to build a functioning solar-powered device, and the principles behind them are surprisingly similar to what professional installers use on rooftops every day.
The core components you’ll find include:
- Solar panel or photovoltaic cell that converts sunlight directly into electrical energy
- Small DC motors that transform electrical power into mechanical movement
- Gears and mechanical transmission parts that control speed and direction
- Structural pieces like plastic frames, wheels, or chassis components
- Connectors and wiring that complete the electrical circuit
- Assembly hardware such as screws, axles, and mounting brackets
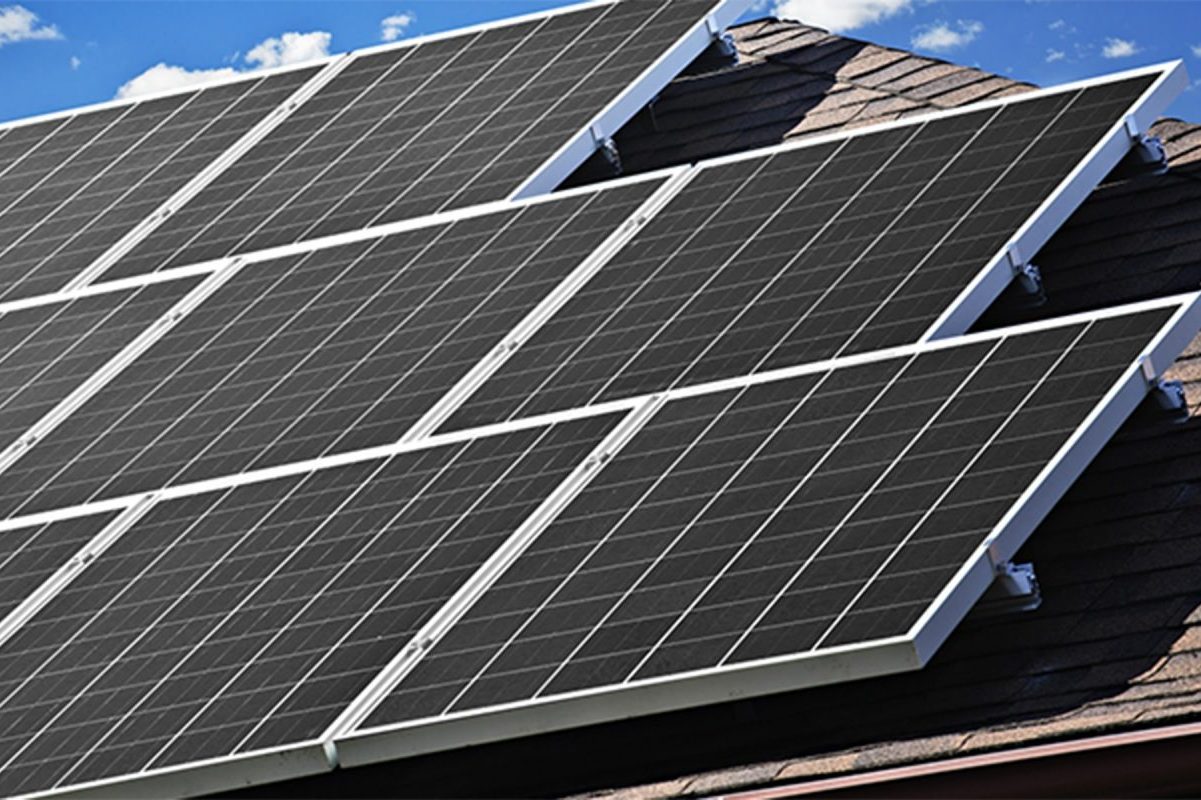
The solar panel in your kit operates on the same fundamental principle as full-size residential panels. Both rely on photovoltaic conversion efficiency basics to generate electricity from sunlight. While your kit’s tiny panel produces just enough power to run a motor or light an LED, the concept scales perfectly to rooftop systems that can power entire homes.
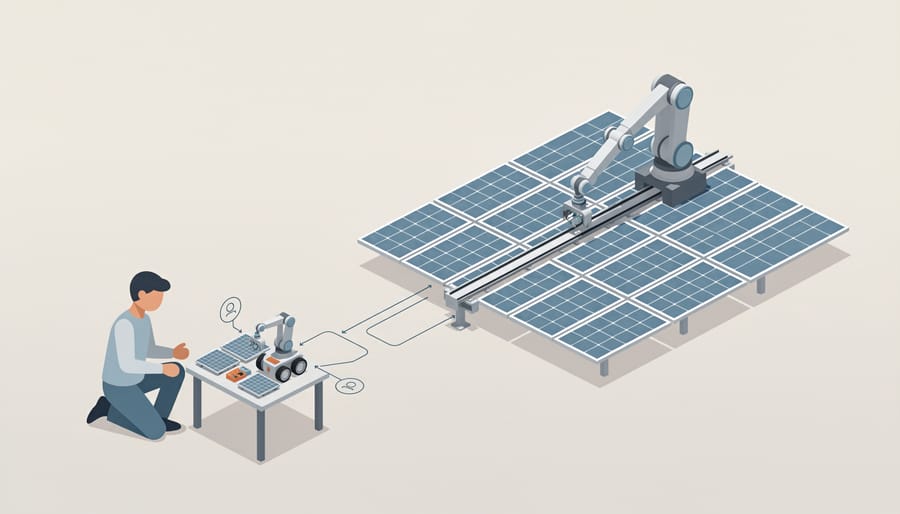
Modern professional solar installations increasingly use robotic systems for precision mounting and tracking. Your kit’s sensors and motors mirror these automated systems on a smaller scale. Some advanced kits include light sensors that help the robot follow the sun, just like the tracking systems that maximize energy collection on commercial solar farms.
The beauty of these kits is their hands-on demonstration of real-world energy technology. When you connect the solar panel to the motor and watch your creation move, you’re witnessing the same energy conversion that happens thousands of times more powerfully on your neighbor’s roof. This direct experience helps demystify solar technology and shows exactly why it’s become such a practical solution for everyday energy needs.
Step-by-Step Assembly Instructions
Preparing Your Workspace and Components
Before you dive into assembling your solar robot creation kit, take a few minutes to set yourself up for success. Clear a flat, well-lit workspace where you can spread out all the components without losing small pieces. A table or desk near a window works perfectly, giving you natural light to see the details clearly.
Open your kit and lay out all the parts according to the instruction manual’s inventory list. This simple step helps you confirm everything’s included and familiarizes you with what each piece does. You’ll typically need just a small Phillips-head screwdriver for most kits, though some may require wire cutters or needle-nose pliers. Check your specific instructions first.
Safety matters, even with educational projects. Keep small components away from young children and pets to prevent choking hazards. If your kit includes electrical wiring elements, handle them carefully and follow proper electrical safety standards. Work in a dry environment, since water and electronics don’t mix.
Good news: these kits are designed to be beginner-friendly. The same careful preparation you’re practicing now mirrors how professional solar installers approach larger projects. You’re already learning valuable habits that translate to real-world applications.
Building the Robot’s Frame and Movement System
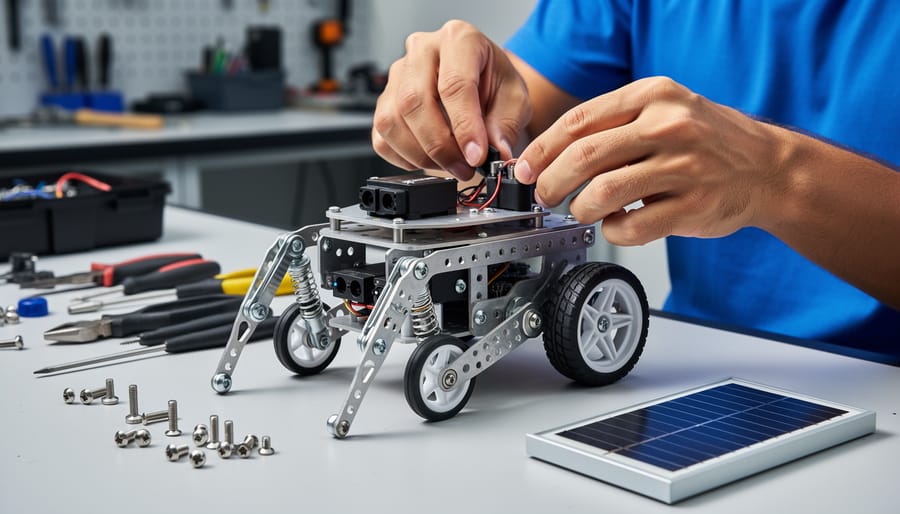
Building your robot’s frame correctly sets the foundation for smooth operation and helps you understand how precision matters in real-world solar installations. Think of this stage as creating the skeleton that will support your solar-powered components.
Start by gathering your frame pieces, which typically include the chassis plate, motor brackets, and wheel assemblies. Most kits use lightweight plastic or metal parts that snap or screw together. Before you begin, lay out all components to ensure nothing is missing.
- Connect the main chassis plate to the bottom support beams using the provided screws, tightening them firmly but not overtight to avoid cracking plastic.
- Attach the motor brackets to designated slots on each side of the chassis, ensuring they’re aligned symmetrically for balanced movement.
- Insert the motors into their brackets, securing them with small screws while making sure the drive shafts face outward.
- Slide the wheels onto the motor shafts until they click into place or reach the shaft’s end, then secure with retaining clips if included.
- Add the front caster wheel or support ball to the chassis front, allowing smooth directional changes.
Double-check that all wheels spin freely without rubbing against the frame. This matters more than you might think. A well-assembled mobility platform reduces friction, meaning your solar panel won’t need to work as hard to power movement.
The beauty of this hands-on experience is discovering how efficient design maximizes energy use. Just as your robot needs a stable, lightweight frame to move effectively on limited solar power, professional solar installations require precise engineering to deliver maximum energy output for your home.
Installing the Solar Power Components
Now comes the exciting part: connecting the solar power components to bring your robot to life. This hands-on experience mirrors how professional solar systems work, just on a smaller, safer scale.
Start by identifying the solar panel and the motor or circuit board that will receive its power. Most kits include pre-stripped wires, but if yours doesn’t, you’ll need to carefully expose about a quarter-inch of wire at each end. The solar panel typically has two wires: red for positive and black for negative. Matching these to the corresponding terminals on your robot is crucial. Reversing them won’t damage most educational kits, but your robot simply won’t work.
Connect the positive wire from the solar panel to the positive terminal on the circuit board or motor assembly. Use the small connector clips or terminals provided in your kit. Make sure they’re snug but not forced. These connections teach you the same principles found in NEC solar wiring provisions that govern real rooftop installations.
If your kit includes a rechargeable battery or capacitor for energy storage, you’ll connect it between the solar panel and the motor. This component stores excess energy when sunlight is abundant and releases it when clouds pass by. Think of it as a miniature version of the battery backup systems that help homes stay powered during grid outages.
Double-check all connections before testing. Place your robot under a bright light or direct sunlight and watch for movement or LED indicators. If nothing happens, verify your wire connections and ensure the solar panel faces the light source directly. This troubleshooting process builds the same diagnostic thinking professionals use daily.
Connecting Electronics and Programming Basics
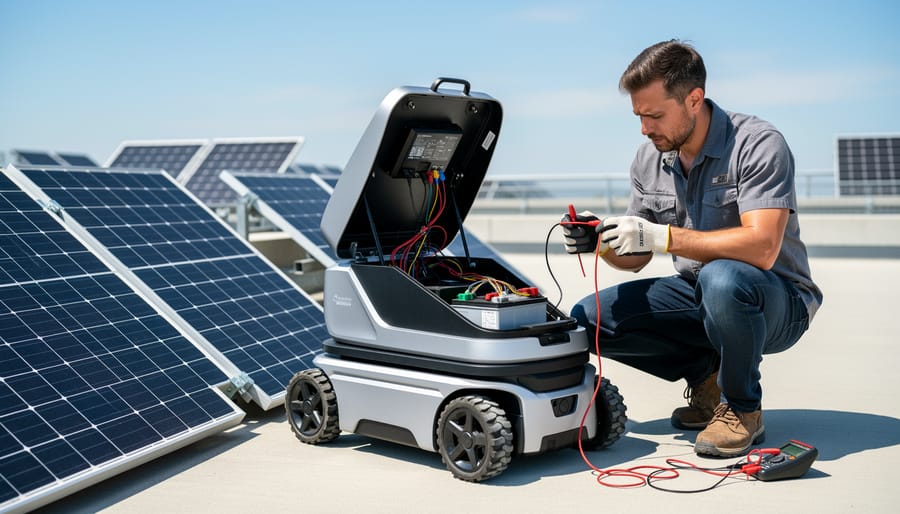
Now you’ll bring your solar robot creation kit to life by connecting its electrical components and programming its brain. Don’t worry if you’ve never wired anything before. This process is straightforward and teaches you the same principles used in residential solar installations.
Start by identifying your controller board, which is the robot’s brain. Look for the clearly labeled ports marked “Motor,” “Sensor,” and “Solar Panel.” Connect the solar panel’s positive (red) wire to the positive terminal and the negative (black) wire to the negative terminal. These connections work just like hooking up a solar energy system at home, converting sunlight into usable power.
Next, attach your motors to the motor ports, matching the color codes. Most kits use simple push-in connectors that don’t require any tools. Then wire your sensors (usually light or obstacle sensors) to their designated ports. The color-coding makes this almost impossible to get wrong.
For programming, many solar robot kits include pre-programmed chips that activate immediately. If your kit requires basic programming, you’ll typically download free software and upload a simple command like “move forward when sunlight detected.” Think of this as similar to programming a smart home energy monitor. You’re giving the device instructions to optimize performance based on environmental conditions.
The beauty of this hands-on experience? You’re learning the fundamentals that make automated solar tracking systems work in real installations, maximizing energy capture throughout the day.
How Solar Robots Mirror Professional Installation Technology
Building a solar robot kit with your family offers more than an afternoon of fun. It introduces the same core principles that professionals use when installing solar panels on homes across the country. The automation, positioning accuracy, and energy optimization you’re learning about through this hands-on project mirror what happens during a real residential solar installation.
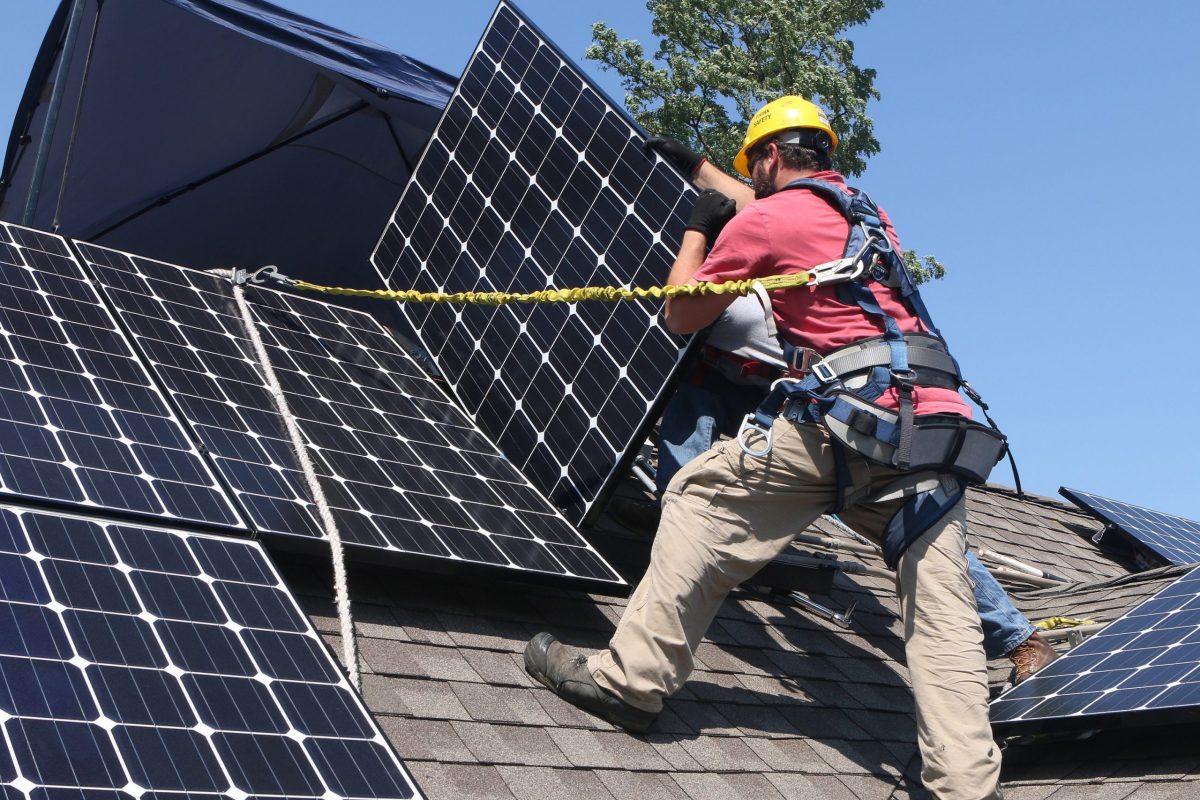
Professional solar companies now use robotic systems to handle the heavy lifting and precise placement of panels. These machines calculate optimal angles, adjust for roof pitch, and position panels with millimeter accuracy. Your kit robot does something similar on a smaller scale. When you program it to follow light or adjust its solar panel angle, you’re replicating the same tracking technology that maximizes energy capture on rooftops.
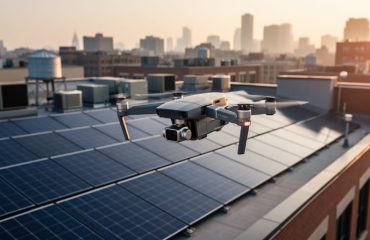
The efficiency gains are substantial. Manual solar installations can take several days and require multiple workers to carry, position, and secure each panel. Robotic assistance cuts installation time by up to 40%, reducing labor costs that get passed along as savings to homeowners. Those same automation principles apply to maintenance too. automated inspection technologies now scan installed panels for defects, checking thousands of connection points faster than human crews ever could.
Your kit’s light-sensing capability demonstrates another professional technique. Commercial solar trackers use similar sensors to follow the sun’s path throughout the day, increasing energy production by 25-45% compared to fixed panels. While most residential installations use stationary panels due to cost considerations, the underlying technology remains identical to what you’re assembling at your kitchen table.
The precision matters too. When your robot’s wheels turn at exact speeds or its solar panel tilts to a specific degree, you’re experiencing the same calibration requirements professionals face. A panel installed at the wrong angle loses efficiency. A misaligned tracker wastes the investment. These robotic systems eliminate human error, ensuring every component performs at peak capacity.
This hands-on experience demystifies solar technology. Understanding how these automated systems work helps homeowners make informed decisions about their own solar installations, recognizing quality workmanship and appreciating the technology that makes modern solar energy both affordable and reliable.
Testing and Troubleshooting Your Solar Robot
Getting your solar robot up and running should be straightforward, but a few hiccups are normal during your first build. Most problems boil down to simple connection issues or less-than-ideal lighting conditions.
If your robot refuses to move, first check that all wire connections match the color-coding in your kit instructions. Loose wires are the number one culprit. Make sure each wire clicks firmly into place. Next, test your lighting source. Indoor lighting rarely provides enough power for initial testing. Take your robot outside or use a bright desk lamp positioned about 6 inches from the solar panel.
| Problem | Likely Cause | Solution |
|---|---|---|
| Robot won’t move at all | Insufficient light or reversed wiring | Test in direct sunlight; verify all wire polarity matches instructions |
| Moves sluggishly or erratically | Dirty solar panel or partial shade | Clean panel with soft cloth; ensure no shadows fall on surface |
| Only one wheel spins | Motor connection loose or gear misalignment | Reseat motor wires; check gears are properly meshed |
| Works outside but not indoors | Normal behavior with typical indoor lighting | Use 100W+ lamp very close to panel for indoor demos |
To optimize charging performance, angle your robot so the solar panel faces perpendicular to your light source. Even a 15-degree tilt away from the sun cuts efficiency noticeably. Keep the panel surface clean since dust and fingerprints block sunlight surprisingly well.
For better movement efficiency, make sure wheels spin freely without wobbling. Friction points waste precious solar energy. A tiny drop of lubricant on axles helps, but avoid getting any on gears or they’ll slip.
The lessons you’re learning here mirror real-world solar installations. Just as your robot needs proper angles and clean panels, home solar systems require similar care for maximum output. Understanding these basics now gives you practical insight into how professional installations work and why proper maintenance matters for long-term energy savings.
Educational Benefits and Next Steps
Building your solar robot creation kit offers more than just entertainment. It provides hands-on experience with photovoltaic cells, energy conversion, and battery storage concepts that directly translate to residential solar systems. When you watch your tiny robot spring to life under sunlight, you’re witnessing the same fundamental principles that power full-scale home installations.
This practical understanding transforms you from a passive consumer into an informed decision-maker. You’ll recognize quality components versus cheap alternatives. You’ll understand why panel orientation matters and how weather affects energy production. These insights prove invaluable when evaluating quotes from installation companies or discussing system specifications with contractors.
The educational value extends beyond basic assembly. You’ve learned to troubleshoot electrical connections, interpret energy flow, and optimize performance through positioning. These same problem-solving skills help you ask better questions about your home’s energy needs, roof compatibility, and expected return on investment.
Ready to take your knowledge further? Consider expanding your solar projects with slightly more complex kits that incorporate multiple panels or advanced storage systems. Many hobbyists progress to building small-scale systems for outdoor lighting or garden features, gaining confidence before committing to whole-home installations.
Your robot kit experience also prepares you to understand emerging solar technology innovations. Automated tracking systems, smart inverters, and monitoring apps all build on concepts you’ve now explored firsthand.
Most importantly, you’ve demystified solar power. The technology isn’t intimidating anymore. You know it works because you’ve made it work yourself. That confidence means you’re less likely to fall for misleading claims and better positioned to recognize genuine value in professional systems. Your weekend project has equipped you with knowledge that could save thousands on your eventual home solar investment.
Building a solar robot creation kit with your own hands offers more than just a fun afternoon project. It’s a window into the technology that’s transforming how homes generate and use energy. As you’ve connected circuits, positioned solar panels, and watched your robot spring to life, you’ve experienced firsthand what makes renewable energy so powerful: the ability to convert sunlight directly into motion and productivity.
This hands-on learning translates directly to understanding your home’s energy future. Just as your robot’s solar panel needed proper positioning to capture maximum sunlight, professional solar panel installations rely on precise placement and optimal angles to deliver the best results. The same principles of efficiency you discovered while assembling your kit apply to full-scale systems that can cut your monthly electricity bills by 50% or more.
Today’s robotic installation techniques bring even greater precision to your home. Automated systems can map your roof’s exact dimensions, calculate sun exposure patterns throughout the year, and determine the perfect configuration for your unique situation. These technologies ensure every panel performs at peak capacity, maximizing your savings from day one.
Ready to take the next step beyond your creation kit? Professional installers now use advanced robotics and computer modeling to design systems tailored to your residential solar needs. You’ve already grasped the fundamentals. Now imagine that same clean, renewable energy powering your entire household while your utility bills drop month after month.