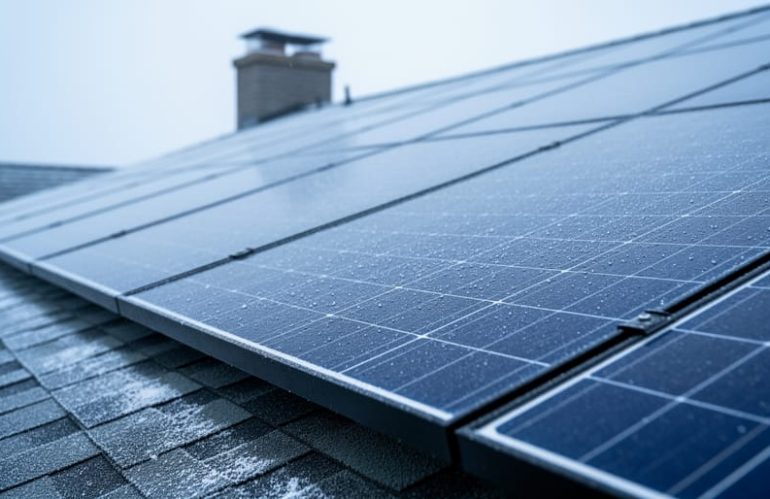
Radiative cooling solar panels combine two technologies to solve a problem most homeowners don’t realize their solar systems have: standard panels can’t shed heat fast enough at night, which means they start each morning warmer than optimal and lose efficiency throughout the day. These advanced panels feature a specialized coating that radiates excess heat directly into space, keeping panel temperatures 5 to 15 degrees cooler than conventional systems. The result? A 2 to 5 percent boost in annual electricity generation, faster snow melt in winter climates, and panels that maintain peak performance even during heat waves.
The technology works through passive radiative cooling, a process that requires no electricity or moving parts. Special materials on the panel surface emit infrared radiation at wavelengths that pass straight through the atmosphere without being absorbed, effectively using the cold of space as a heat sink. While this might sound futuristic, radiative cooling panels are already available from major manufacturers and can be installed using the same methods as traditional solar arrays.
For cold-climate homeowners, the benefits extend beyond efficiency gains. The self-cooling effect accelerates snow shedding and reduces the formation of ice dams that can damage both panels and roofs. Counter to popular belief, solar panels actually perform better in cold temperatures when they can stay cool, and radiative cooling maximizes this advantage. Installation follows familiar procedures, though positioning and roof compatibility require extra attention to capture the full cooling benefit.
What Radiative Cooling Solar Panels Actually Do
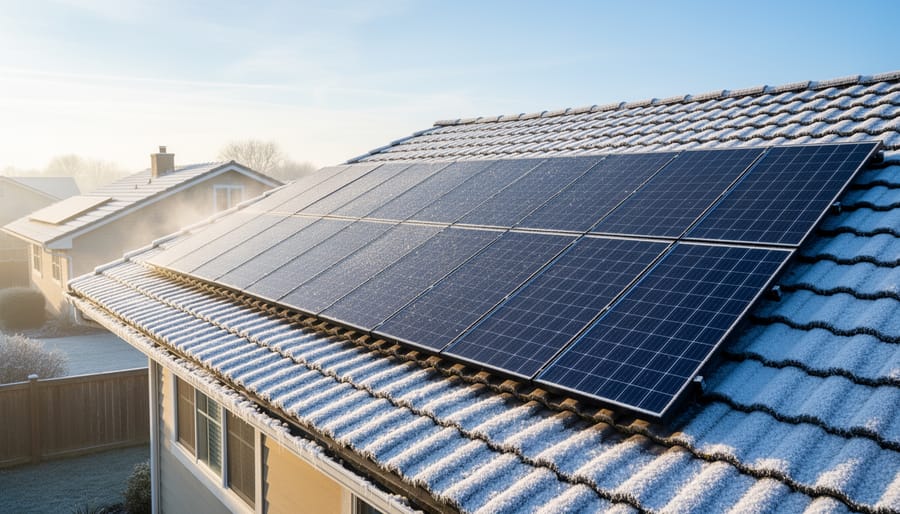
Radiative cooling solar panels work on a surprisingly simple principle: they’re designed to release excess heat by emitting infrared radiation directly into space, even while the sun is shining. Standard solar panels absorb sunlight to generate electricity, but they also absorb heat. When panels get too hot, which happens even on cold, sunny winter days, their efficiency drops. Radiative cooling panels feature specialized coatings or integrated layers that allow them to radiate heat away without blocking the sunlight needed for electricity generation. Think of it as a one-way street for heat: the panels convert sunlight to power while simultaneously dumping unwanted warmth into the atmosphere above.
In cold climates, this technology solves two problems many homeowners don’t realize exist. First, solar panels can overheat even when it’s freezing outside. A sunny February day with temperatures at 20°F can still push panel surfaces above 80°F, reducing output by 10-15% compared to their rated capacity. Radiative cooling keeps panels closer to their ideal operating temperature, maximizing your winter energy production when days are short and every kilowatt-hour counts. Second, the controlled heat management can assist with gradual snow melt. Rather than trapping heat inconsistently, these panels maintain more stable temperatures that help snow slide off naturally without creating the hot spots that lead to ice dams.
Here’s the myth worth busting: solar panels don’t need to be hot to work well. In fact, they perform better when cool. Silicon solar cells lose about 0.5% efficiency for every degree Celsius above 25°C. Cold winter air is actually your friend, provided you’re capturing enough sunlight. Radiative cooling panels take advantage of this physics by keeping temperatures down while maintaining maximum light absorption. They differ from standard panels not in how they generate electricity, but in how they manage the heat that electricity generation creates. The technology doesn’t replace your solar system; it enhances it.
Tools and Materials You’ll Need
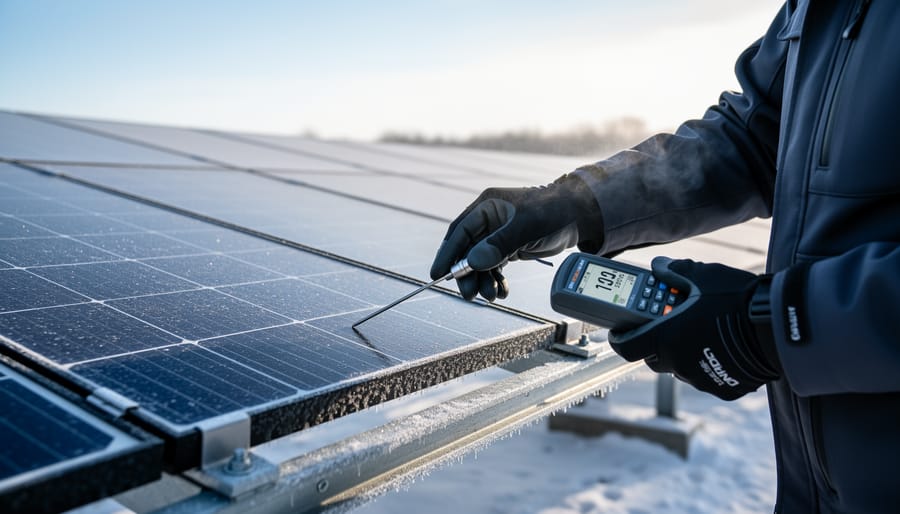
Installing radiative cooling solar panels in a cold climate requires more specialized equipment than a standard solar setup. You’ll need tools to measure thermal performance, hardware designed for freeze-thaw cycles, and in most cases, professional expertise to handle the integration properly.
Essential Tools and Materials:
- Thermal imaging camera (rental or professional service) to assess roof heat loss and verify cooling performance
- Cold-weather mounting rails and brackets rated for your local snow load requirements
- Specialized radiative cooling panels or selective emitter coatings (often proprietary to specific manufacturers)
- Ice and water shield underlayment for roof weatherproofing
- Stainless steel hardware resistant to corrosion from freeze-thaw cycles
- Temperature sensors and monitoring equipment to track panel performance
- Roof snow guards or retention systems designed to work with the panel layout
- Electrical conduit and wiring rated for extreme temperature swings
- Licensed electrician familiar with solar installations and local code requirements
- Structural engineer assessment for roofs with questionable snow load capacity
The radiative cooling panels themselves are the most critical component. Unlike standard solar modules you can order online, these often come through specialized distributors or as part of a complete system package. Some manufacturers integrate the cooling technology directly into the panel construction, while others offer it as a coating or separate layer.
You’ll also want weatherproof sealants formulated for cold temperatures and proper insulation materials if you’re addressing thermal bridging around the mounting points. Don’t underestimate the need for professional installation expertise. This technology is still relatively new, and finding an installer who understands both solar systems and cold-climate building science makes a significant difference in long-term performance.
Safety Warnings and Pre-Installation Considerations
Working on an icy roof in subzero temperatures while handling electrical equipment isn’t the time to discover your limitations. Cold-climate solar installations present hazards that don’t exist in milder regions, and radiative cooling panels add specific considerations around thermal management that demand professional expertise.
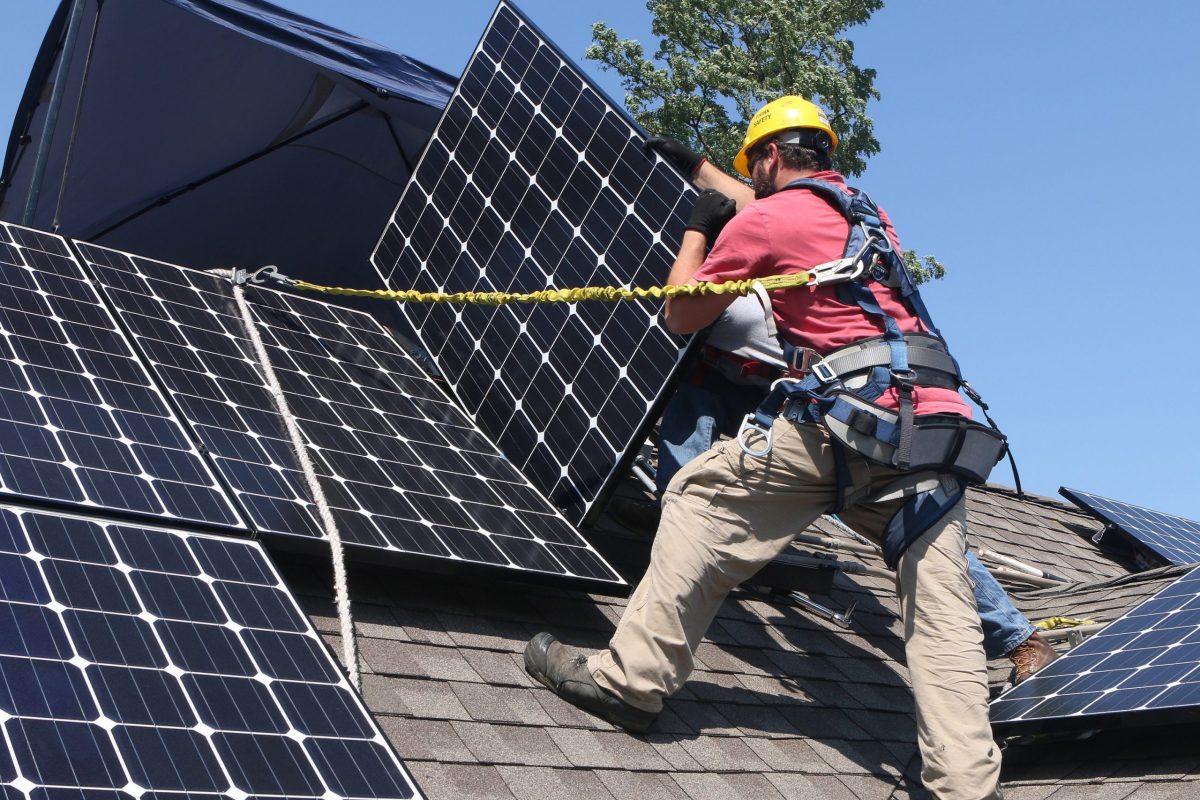
The most immediate danger is working at height on potentially ice-covered surfaces. Roof materials become brittle in freezing temperatures, snow conceals structural defects, and ice can form unexpectedly under your feet even on sunny days. If you’re installing during winter months, professional installers use specialized fall protection systems, ice cleats, and safety anchors rated for cold-weather use. Wind chill dramatically increases hypothermia risk, what feels manageable at ground level becomes dangerous after 30 minutes on an exposed roof.
Electrical safety takes on new dimensions when moisture and freezing are involved. Water from melting snow can infiltrate junction boxes and connections, creating short-circuit risks. Ice formation can crack conduit and damage wiring insulation. All electrical work must use cold-rated components and weatherproof enclosures rated for your climate zone. Never assume standard electrical boxes will suffice, moisture ingress that would evaporate in summer becomes trapped ice in winter.
Structural considerations go beyond typical solar installations. Snow accumulation on panels creates dynamic loads that change throughout winter. Radiative cooling technology affects how snow sheds from your roof, potentially altering drainage patterns or creating ice dam risks if improperly designed. Your roof needs evaluation for both static weight capacity and the thermal impacts of selective cooling, some areas may experience more freeze-thaw cycles than before.
Permit requirements vary widely, but cold-climate jurisdictions typically require stamped engineering drawings for roof-mounted systems. You’ll need electrical permits, building permits, and possibly separate approvals for any modifications affecting roof drainage or insulation. Some municipalities require snow guard installations when panels change roof friction coefficients.
Call a professional if you lack experience with both electrical systems and cold-weather construction, if your roof pitch exceeds 6:12, or if you’re uncertain about snow load calculations. This isn’t standard DIY territory, it combines roofing, electrical work, and emerging thermal technology that most general contractors haven’t encountered yet.
Step-by-Step Installation Process
Step 1: Assess Your Roof and Climate Conditions
Start by checking if your roof can actually handle radiative cooling panels before you spend a dollar. Walk outside and note which direction your roof faces, south-facing slopes get the most winter sun in the Northern Hemisphere, making them ideal candidates for this technology. If your roof primarily faces north or is heavily shaded by trees or neighboring buildings during winter months, radiative cooling panels won’t deliver the performance boost you’re hoping for.
Next, evaluate your roof’s structural capacity. Cold-climate roofs need to support not just panel weight but also accumulated snow. Most building codes require roofs to handle 20-40 pounds per square foot of snow load, but radiative cooling systems add 3-5 pounds per square foot. If your roof is older or you’re uncertain about its load rating, schedule a structural inspection. Professional drone roof inspections can quickly identify weak points without anyone climbing up in winter conditions.
Temperature patterns matter too. Radiative cooling panels deliver the biggest advantage when you experience sunny winter days with temperatures between 20-40°F, conditions where standard panels might overheat despite cold air. Review your local climate data for the past five years. If you consistently see below-zero temperatures with limited sun, or mild winters without temperature swings, you won’t see enough benefit to justify the premium cost of this technology.
Step 2: Design the Hybrid System Layout
Mapping your hybrid layout starts with understanding your roof’s geometry and sun path during winter months. In cold climates, the sun sits lower on the horizon from November through February, creating longer shadows and different shading patterns than summer installations might anticipate.
Begin by sketching your available roof area and marking zones that receive uninterrupted sunlight during peak winter hours, typically 10 AM to 2 PM. Standard photovoltaic panels belong in these prime zones since they’re your electricity workhorses. Radiative cooling panels work best on sections that face south or southwest and have clear sky exposure above them, as they need an unobstructed view to radiate heat into space.
Most successful cold-climate designs place radiative panels at the array’s top edge or intersperse them every three to four rows. This creates thermal management zones that help prevent localized hot spots on sunny winter days while maintaining snow-shedding performance. Avoid clustering all cooling panels together, distribution across the array provides more even temperature regulation.
Consider future shading, too. That young tree may block winter sun in five years, so plan your most critical panels away from potential growth patterns.
Step 3: Prepare the Mounting System for Cold Weather
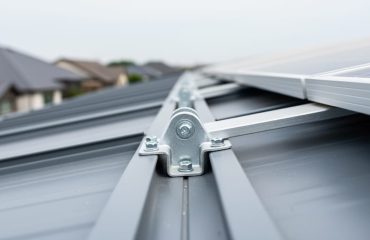
Cold-weather mounting systems demand hardware that won’t crack when temperatures swing from -20°F to 60°F in the same week. Start with galvanized steel or aluminum rails rated for freeze-thaw cycles, stainless steel fasteners are non-negotiable since standard bolts will corrode within two winters. Apply butyl rubber sealant around every roof penetration before securing lag bolts, then add flashing collars to prevent ice damming around mounting points.
Space your mounting feet 16-24 inches apart rather than the standard 36 inches to handle heavy snow loads without flexing. Install rubber compression pads between rails and feet to absorb expansion and contraction as temperatures fluctuate. These pads cost $3-5 each but prevent stress fractures that compromise waterproofing.
Create deliberate drainage channels by tilting rails slightly toward roof edges, just 2-3 degrees prevents meltwater from pooling and refreezing under panels. Some installers are exploring automated installation systems for precision spacing, but manual installation with a torpedo level works fine if you maintain consistent gaps. Leave quarter-inch clearance between panels and mounting hardware to allow winter contraction without binding.
Step 4: Install Radiative Cooling Panels and Standard Solar Modules
Mount radiative cooling panels first on the sections of your roof receiving maximum winter sun exposure. These panels need direct sky access for optimal thermal emission, so place them away from obstructions like chimneys or trees. Secure each panel using the cold-weather mounting hardware you prepared, torquing bolts to manufacturer specifications while wearing insulated gloves to prevent frostbite on metal surfaces.
Next, install your standard photovoltaic modules in adjacent arrays. The key is creating thermal zones: radiative cooling panels manage temperature while PV panels generate electricity. Leave a small gap between different panel types for air circulation, but maintain consistent row alignment for aesthetic appeal and snow-shedding efficiency.
Run electrical conduit between panels before completing the mounting process. Cold temperatures make wires brittle, so handle cables gently and use flexible conduit designed for freeze-thaw cycles. Connect positive and negative leads according to your system design, ensuring all connections are weatherproof and rated for winter moisture exposure. Double-check that radiative panels have separate monitoring connections to track their cooling performance independently from electricity generation metrics.
Step 5: Connect to Inverter and Monitoring Systems
Connect your radiative cooling panels to an inverter rated for operation below -22°F (the minimum threshold for most cold-climate installations). Standard inverters can fail or throttle output when internal components drop below manufacturer specs, so verify the cold-weather rating before wiring. Run separate monitoring leads to track panel surface temperature alongside power output, this dual data stream lets you confirm the cooling effect is actually working during sunny winter days when conventional panels might overheat.
Configure your monitoring platform to alert you when panel temperatures deviate from expected ranges or when snow accumulation blocks output. Modern systems support remote diagnostics, reducing the need for roof access in harsh conditions. While installation automation tools can streamline some wiring tasks, cold-weather connections demand manual verification of every terminal to prevent moisture intrusion at junction boxes. Seal all entry points with cold-rated silicone, and label circuits clearly for future maintenance.
Verification and Performance Testing
Once your hybrid system is online, verifying proper operation requires more than checking your electric meter. Start with baseline measurements within the first 48 hours: record panel temperatures using an infrared thermometer at noon on a clear day, noting the difference between radiative cooling panels and standard modules. You should see the cooling panels running 5-10°F cooler than conventional panels under identical conditions, demonstrating active heat rejection.
Your monitoring system becomes essential here. Compare daily energy output against predicted generation for your location and season. In cold climates, expect conventional wisdom to flip: your system may actually perform better on crisp, sunny winter days than shoulder seasons because radiative panels prevent heat buildup that reduces efficiency. Track these metrics consistently through your first winter cycle to establish performance patterns.
- Panel surface temperature stays within manufacturer’s specified range (typically 10-20°F above ambient for radiative panels versus 30-50°F for standard)
- Snow slides off within 6-12 hours of snowfall ending on clear days, indicating effective thermal management
- Energy output matches or exceeds projections for your climate zone and installation angle
- No ice dam formation along panel edges after melt cycles
- Inverter efficiency readings remain above 95% in cold conditions
Schedule professional thermal checks at the three-month mark to confirm the cooling technology operates as designed. If panels aren’t shedding snow effectively or you notice hot spots, the issue often traces to improper tilt angle or coating degradation rather than equipment failure. Address performance gaps immediately, waiting until spring means losing months of winter production gains.
Financial Benefits and Expected ROI in Cold Climates
Radiative cooling solar panels typically add 10-20% to your total system cost compared to standard installations, translating to roughly $2,000-$4,000 extra for an average residential setup in 2026. This premium pays for the specialized coating materials and engineering required to emit heat while generating electricity. However, the improved winter performance can meaningfully offset that investment through several channels.
The primary financial benefit comes from sustained efficiency during cold, sunny days when standard panels might experience thermal stress or localized hotspots that reduce output. Most cold-climate homeowners see 3-8% higher annual energy production with radiative cooling technology, which translates to $150-$300 in additional electricity savings per year depending on your local rates and system size. You’ll also spend less on snow management. Because these panels can help accelerate snowmelt through controlled heat release, many homeowners eliminate the need for heated panel systems or professional snow-clearing services that cost $200-$500 annually.
Long-term durability adds another layer of value. The reduced thermal cycling (fewer extreme temperature swings) can extend panel lifespan by several years, delaying costly replacements. When you factor in the energy savings, maintenance reduction, and extended equipment life, most cold-climate installations achieve payback within five to seven years.
Is the premium worth it in 2026? If you’re in a region with significant winter sunshine, heavy snow, and high electricity rates, yes. For mild climates with infrequent snow, standard panels or community solar programs might deliver better financial returns without the technology upgrade.
Common Questions About Radiative Cooling Solar Panels
Homeowners considering radiative cooling solar panels consistently ask practical questions about performance, cost, and compatibility. Here’s what you need to know about this emerging technology.
Do radiative cooling panels work in extreme cold?
Yes, radiative cooling panels actually perform well in extreme cold because they’re designed to emit excess heat into space regardless of ambient temperature. The technology works through thermal radiation, not convection, so frigid air temperatures don’t interfere with the cooling process.
Will they help prevent ice dams on my roof?
No, radiative cooling panels won’t prevent ice dams since they cool the panel surface itself rather than warming your roof. Ice dams form from heat escaping through poor attic insulation, which is a separate roofing issue you’ll need to address independently.
How do they compare to heated solar panels for snow removal?
Radiative cooling panels take a different approach than heated panels. While heated panels actively melt snow using electricity, radiative cooling panels manage temperature to prevent the freeze-thaw cycles that cause snow to bond firmly to the surface, making natural snow-shedding easier without consuming power.
Can I add radiative cooling panels to my existing solar system?
It depends on your current setup and available roof space. Some radiative cooling technology can integrate with existing arrays as supplemental panels, but you’ll need a qualified installer to assess compatibility with your inverter, monitoring system, and structural capacity.
The availability question matters most to homeowners ready to move forward now. As of 2026, radiative cooling solar panels remain primarily in the research and pilot project phase for residential applications. A few specialized manufacturers offer hybrid panels that incorporate passive cooling materials, but widespread residential availability is still limited compared to standard solar panels. Expect higher upfront costs and longer lead times if you find an installer who works with this technology.
For most homeowners, the practical decision comes down to whether your location experiences enough sunny winter days with temperature swings to justify the premium. If you’re in a cold climate with frequent clear skies and struggle with snow accumulation on existing panels, radiative cooling technology could provide measurable benefits. However, if your main winter challenge is prolonged cloud cover or your current system already performs well, waiting for broader market availability and lower prices makes more financial sense.
Radiative cooling solar panels represent a genuine breakthrough for homeowners in cold climates who previously felt that winter conditions limited their solar potential. This technology isn’t just theoretical anymore, it’s become a practical option that addresses real winter challenges like snow accumulation and temperature management while improving overall system efficiency.
You should seriously consider radiative cooling panels if you experience heavy snowfall, deal with ice dam problems, or live where sunny winter days create temperature swings that affect panel performance. The financial case strengthens when you factor in reduced snow-removal needs and improved energy output across the entire year, not just summer months.
The key to success lies in working with installers who understand both solar technology and cold-climate building science. This isn’t a standard solar installation, and the expertise required goes beyond basic panel mounting. Ask potential contractors about their experience with freeze-thaw cycles, thermal management integration, and winter performance optimization.
The future of solar energy isn’t limited by geography anymore. As radiative cooling technology matures and costs decrease, cold-climate homeowners can achieve the same renewable energy benefits that warm-climate residents have enjoyed for years. Your location should inspire creative solutions, not discourage solar adoption altogether.