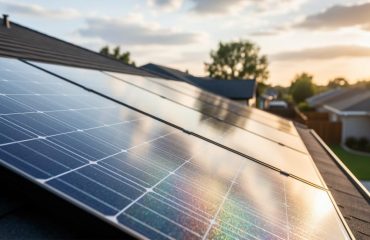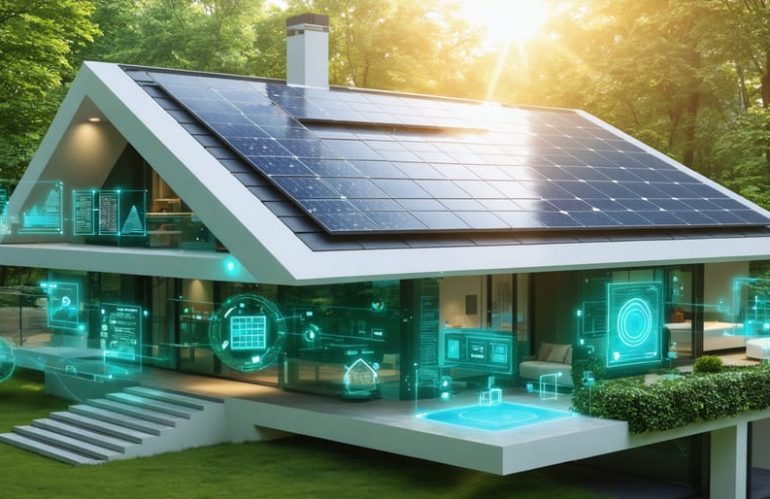
Solar energy infrastructure has evolved from a complex industrial endeavor into an accessible home improvement that can revolutionize your home’s efficiency. Modern solar installations require three key infrastructure components: a robust mounting system, efficient electrical integration, and smart monitoring capabilities. The mounting infrastructure must withstand decades of weather exposure while maintaining optimal panel angles for maximum sun exposure. Supporting electrical systems, including inverters and battery storage, transform raw solar power into usable household electricity. Advanced monitoring platforms track system performance, alerting homeowners to maintenance needs while optimizing energy production.
Today’s solar infrastructure combines time-tested durability with cutting-edge technology, making clean energy production more reliable and cost-effective than ever before. Whether you’re considering rooftop panels or ground-mounted arrays, understanding these fundamental infrastructure requirements ensures a successful transition to solar power. With proper planning and professional installation, your solar infrastructure can deliver decades of sustainable energy while increasing your property’s value.
Essential Rooftop Requirements
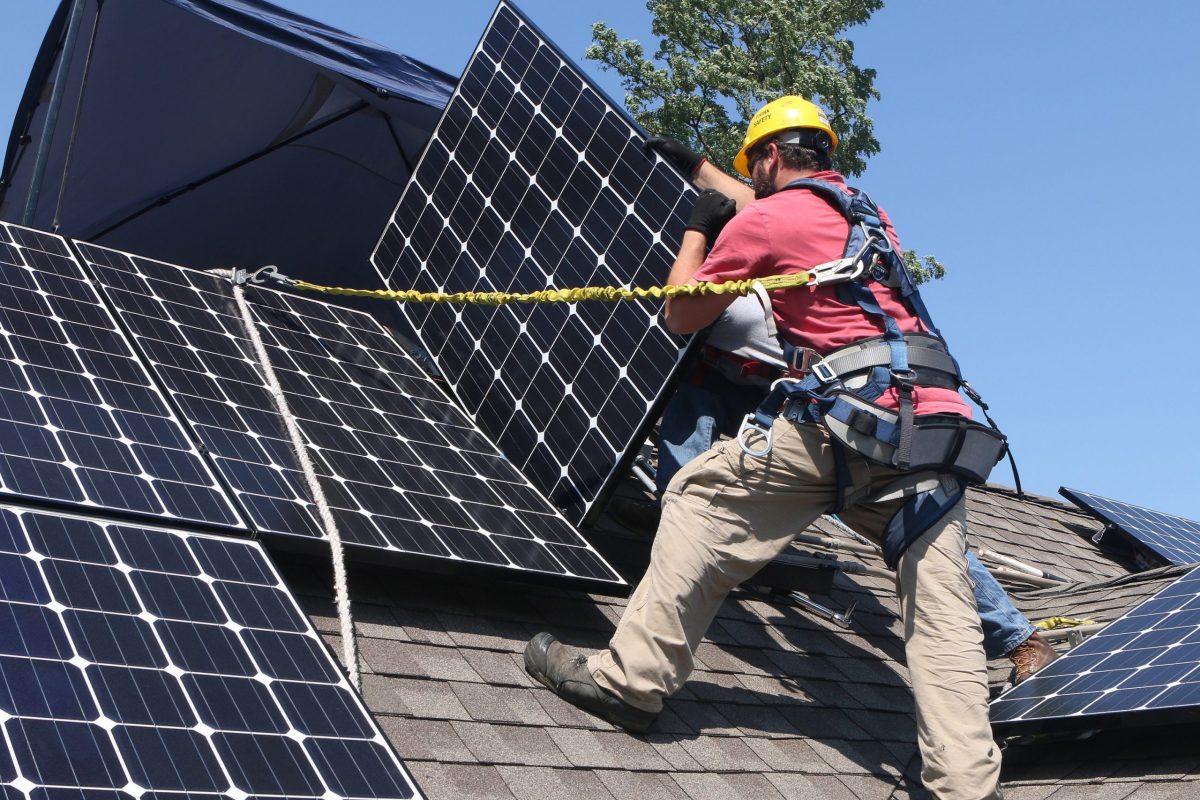
Structural Assessment
Before installing solar panels, a thorough structural assessment of your home is essential to ensure safe and effective installation. The primary focus is on your roof’s condition and its ability to support the additional weight of the solar panel system.
A qualified inspector will evaluate your roof’s age, material, and overall health. They’ll check for signs of wear, water damage, or structural weakness that could compromise the installation. Most modern homes can easily handle the weight of solar panels, which typically add about 2.5-4 pounds per square foot to your roof’s load.
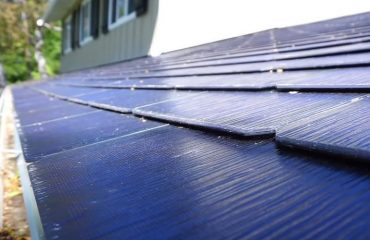
The assessment includes examining your roof’s support structure, including rafters and trusses, to verify they meet local building codes for solar installation. Your roof’s pitch and orientation will also be evaluated, as these factors affect solar panel efficiency and mounting requirements.
Key areas the inspector will check include:
– Roof material condition and remaining lifespan
– Structural integrity of supporting beams
– Current weight load and additional capacity
– Water drainage patterns
– Existing penetrations (vents, chimneys, skylights)
If any issues are found, they should be addressed before installation. Sometimes, minor repairs or reinforcements are all that’s needed to make your roof solar-ready. This assessment not only ensures safety but also helps maximize the lifespan of both your roof and solar installation.
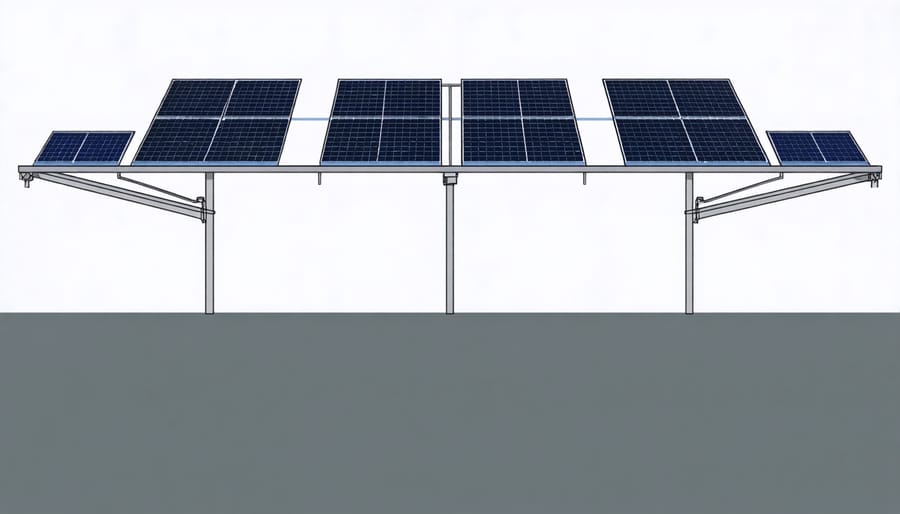
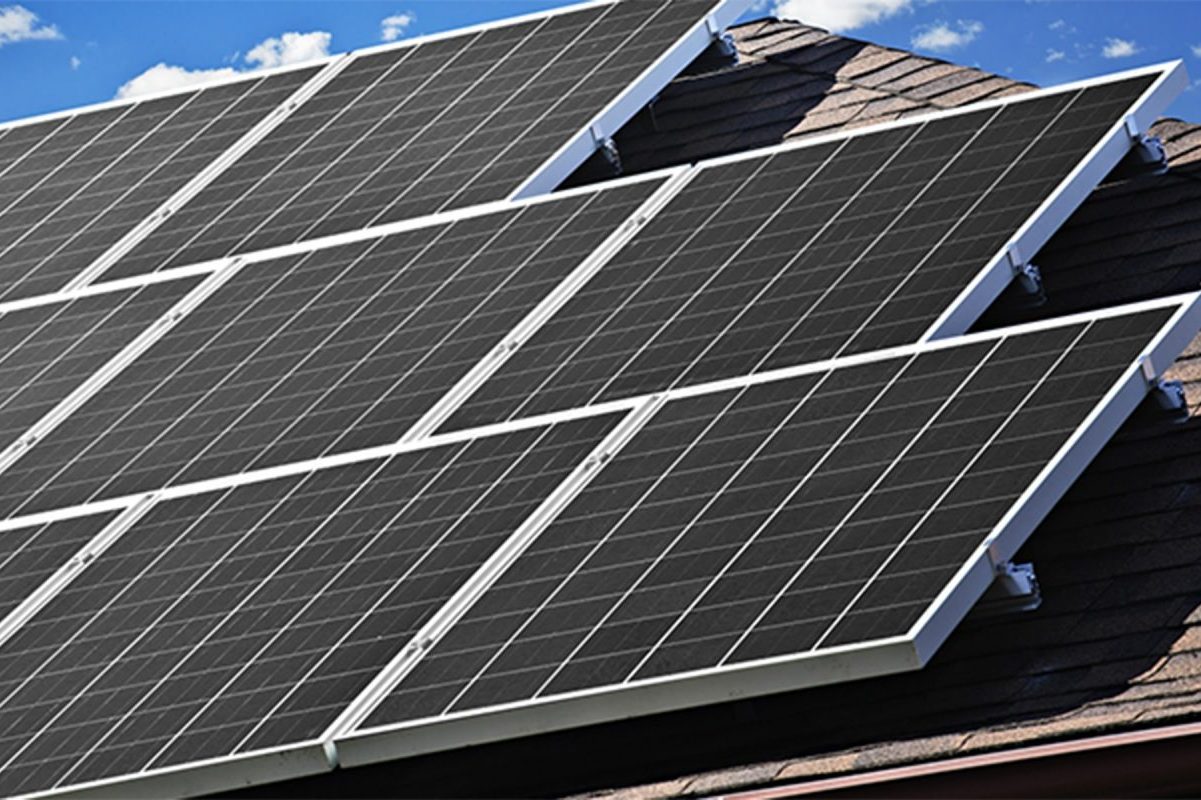
Optimal Panel Positioning
When you design your perfect solar system, proper panel placement is crucial for maximizing energy production. The key to optimal panel positioning starts with your roof’s orientation and angle.
South-facing roofs in the Northern Hemisphere typically offer the best exposure to sunlight throughout the day. However, southeast and southwest-facing roofs can still provide excellent results, often generating up to 80% of the optimal output. The ideal roof angle falls between 30-45 degrees, though panels can be mounted on pitches ranging from 15-60 degrees with additional brackets if needed.
Shade is another critical factor to consider. Even partial shade from trees, chimneys, or nearby buildings can significantly impact panel efficiency. A good rule of thumb is to ensure panels receive direct sunlight between 9 AM and 3 PM daily. Modern micro-inverters and power optimizers can help minimize the impact of partial shading, but it’s best to address potential shade issues before installation.
Remember to consider seasonal changes in sun position and tree foliage when planning panel placement. Professional installers can use solar pathfinder tools to analyze your roof’s solar potential throughout the year, ensuring you get the most from your investment.
Electrical System Integration
Main Panel Requirements
Before installing solar panels, ensuring your home’s electrical panel can handle the additional power is crucial. Many older homes have 100-amp panels, which may need upgrading to accommodate solar installation. A 200-amp panel is typically recommended for modern solar systems, as it provides the necessary capacity for both your home’s existing electrical needs and the new essential solar components.
Your main service panel should feature a dedicated double-pole circuit breaker for the solar system, usually rated between 20 and 60 amps depending on your system’s size. Additionally, the panel must have adequate bus bar rating and available breaker spaces for solar integration. Modern panels should also include proper grounding systems and surge protection to safeguard your investment.
Most solar installations require what’s called a “backfeed breaker,” which allows excess power generated by your panels to flow back into the grid. This breaker must be positioned at the opposite end from your main breaker, following the “120% rule” set by the National Electrical Code.
If your current panel needs upgrading, consider it an investment in your home’s future. While panel upgrades can add to initial costs, they ensure safe operation and optimal performance of your solar system. Many utility companies offer incentives or rebates for electrical upgrades when installing solar, making the transition more affordable. Always work with a certified electrician who can evaluate your existing panel and recommend appropriate upgrades based on your specific solar goals.
Wiring and Conduit Considerations
Proper wiring and conduit installation are essential components of a safe and efficient solar energy system. The wiring connects your solar panels to the inverter and ultimately to your home’s electrical system, while conduits protect these vital connections from the elements.
For residential solar installations, you’ll typically need both DC wiring (connecting the panels to the inverter) and AC wiring (connecting the inverter to your home’s electrical panel). These wires must be specifically rated for solar applications and outdoor use, ensuring they can withstand UV exposure and extreme weather conditions.
Conduits serve as protective pathways for your solar system’s wiring. Most installations use either electrical metallic tubing (EMT) or PVC conduit, depending on your local building codes and environmental conditions. EMT offers superior durability and is often preferred for exposed outdoor runs, while PVC provides excellent water resistance and is typically more cost-effective.
Your installation should include proper weatherproofing at all connection points, using appropriate weatherproof junction boxes and watertight fittings. This prevents moisture infiltration that could damage your system or create safety hazards.
When planning your solar installation, consider the most efficient path for running conduit from your roof to your electrical panel. This might involve routing through your attic, along exterior walls, or through other accessible spaces. Professional installers will ensure all wiring meets National Electrical Code (NEC) requirements and local regulations, including proper sizing, grounding, and overcurrent protection.
Keep in mind that neat, well-planned wiring not only looks better but also makes future maintenance and troubleshooting easier. Working with certified solar installers ensures your wiring infrastructure meets all safety standards while maximizing system efficiency.
Energy Storage Solutions
Battery Installation Space
Proper battery placement is crucial for the safety and efficiency of your solar energy system. Batteries should be installed in a clean, dry, and temperature-controlled space, ideally between 50-85°F (10-29°C). A garage, basement, or dedicated utility room makes an excellent location, provided it’s protected from extreme temperatures and direct sunlight.
Your battery installation space requires adequate ventilation to prevent the buildup of gases and maintain optimal operating temperatures. Allow at least 12 inches of clearance around all sides of the battery bank for proper airflow and maintenance access. If you’re installing multiple batteries, arrange them with enough space between units to prevent heat transfer.
The floor or mounting surface must be level and strong enough to support the considerable weight of the batteries. A concrete floor is ideal, but reinforced wooden platforms can work when properly constructed. Keep batteries elevated slightly off the floor to prevent moisture damage and ensure easy cleaning underneath.
Consider installing a smoke detector and fire extinguisher nearby as safety precautions. The space should be lockable to prevent unauthorized access, especially if you have children in the home. Label the area clearly with appropriate safety signage, and keep the space free from clutter and flammable materials.
Remember to place batteries close to your solar inverter to minimize power loss through cables, but never install them in living spaces or areas where people spend significant time.
Backup Power Integration
Integrating backup power into your solar system provides peace of mind and ensures continuous electricity even when the sun isn’t shining. Modern solar batteries, like lithium-ion systems, store excess energy generated during sunny days for use during nighttime, cloudy weather, or power outages.
Installing batteries with your solar setup is straightforward but requires careful planning. The process typically involves mounting the batteries in a temperature-controlled area, such as your garage or utility room, and connecting them to your solar inverter system. Most homeowners opt for wall-mounted battery solutions that take up minimal space while providing substantial backup power.
The size of your battery system depends on your energy needs. A typical home battery can store 10-15 kilowatt-hours of electricity, enough to power essential appliances like refrigerators, lights, and electronics for 12-24 hours. For complete home backup, you might need multiple batteries working together.
Modern battery systems come with smart features that automatically manage power flow. They can prioritize battery charging when electricity rates are low and switch to battery power during peak rate periods, maximizing your savings. Many systems also include smartphone apps that let you monitor your energy storage and usage in real-time.
When selecting a battery system, consider factors like warranty length, cycle life, and compatibility with your existing or planned solar setup. While batteries represent an additional investment, they significantly enhance your energy independence and can qualify for tax incentives and rebates.
Smart Monitoring Systems
Internet Connectivity Requirements
A reliable internet connection is essential for modern solar energy systems, allowing you to monitor your system’s performance and maximize its efficiency. Most solar installations require a basic broadband connection with speeds of at least 2-3 Mbps, which is typically available through your existing home internet service.
Your solar monitoring system connects to the internet through either Wi-Fi or a hardwired ethernet connection to your router. While Wi-Fi is more convenient, a hardwired connection offers greater reliability and is recommended for areas with inconsistent wireless coverage. The connection enables real-time tracking of energy production, system health alerts, and automatic software updates from your solar provider.
For homes with weak internet signals near the solar equipment, a Wi-Fi extender or powerline adapter can help ensure consistent connectivity. It’s important to note that most modern solar systems have offline backup capabilities, meaning your panels will continue generating power even during internet outages. However, maintaining a stable connection ensures you get the most from your system’s smart features and monitoring capabilities.
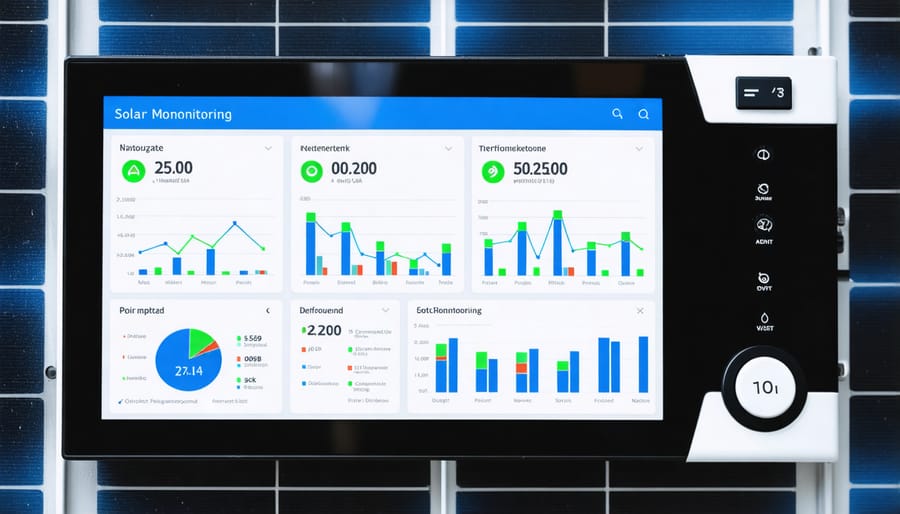
Performance Tracking Setup
Monitoring your solar system’s performance is essential for ensuring you’re getting the most from your investment. A basic monitoring setup includes a solar meter that tracks energy production and a smart inverter that converts DC power to usable AC power. Many modern systems come with user-friendly smartphone apps that display real-time energy generation, consumption patterns, and system health updates.
The installation process typically involves mounting weather-resistant sensors on your panels and connecting them to a central monitoring hub. This hub communicates with your home’s internet network, allowing you to access performance data anywhere. Look for systems that offer features like automated alerts for maintenance issues and detailed energy reports.
Most monitoring equipment requires minimal maintenance, with sensors designed to withstand various weather conditions. Your solar installer can recommend the best monitoring solution based on your system size and needs. Some advanced options even integrate with home automation systems, helping you optimize energy usage by coordinating with smart appliances and battery storage units.
Remember to regularly check your monitoring dashboard to spot any unusual patterns that might indicate maintenance needs or potential issues requiring attention.
Making the switch to solar energy requires careful planning and consideration of various infrastructure elements, but the long-term benefits make it well worth the effort. As we’ve explored, successful solar installation depends on having the right roof structure, electrical system upgrades, and proper mounting equipment in place.
For homeowners ready to take the next step, begin by scheduling a professional solar assessment to evaluate your property’s solar potential and existing infrastructure. This evaluation will help identify any necessary upgrades or modifications needed before installation. Consider obtaining multiple quotes from certified solar installers to ensure competitive pricing and comprehensive service packages.
Remember that while the initial infrastructure investments may seem substantial, many homeowners recover these costs through energy savings within 5-10 years. Federal tax incentives, state rebates, and local utility programs can significantly reduce your upfront expenses. Additionally, modern solar infrastructure is designed to last 25-30 years with minimal maintenance, providing decades of clean, renewable energy.
To ensure a smooth transition to solar power, create a timeline for implementation that accounts for permit applications, infrastructure upgrades, and installation scheduling. Work closely with your chosen installer to develop a clear project plan that minimizes disruption to your daily life while maximizing the efficiency of your new solar energy system.
By taking these steps and properly preparing your home’s infrastructure, you’ll be well-positioned to join the growing community of homeowners benefiting from clean, sustainable solar energy.