Installing solar panels transforms your home into a clean energy powerhouse while slashing electricity bills by up to 90%. Modern marine-grade solar panels and streamlined installation processes have made this sustainable upgrade more accessible than ever before.
Before climbing onto your roof, proper planning ensures a smooth, efficient installation that maximizes your solar investment. A thorough site assessment evaluates your roof’s structural integrity, sun exposure patterns, and optimal panel placement angles. This preliminary work, combined with securing necessary permits and utility agreements, creates the foundation for a successful solar installation.
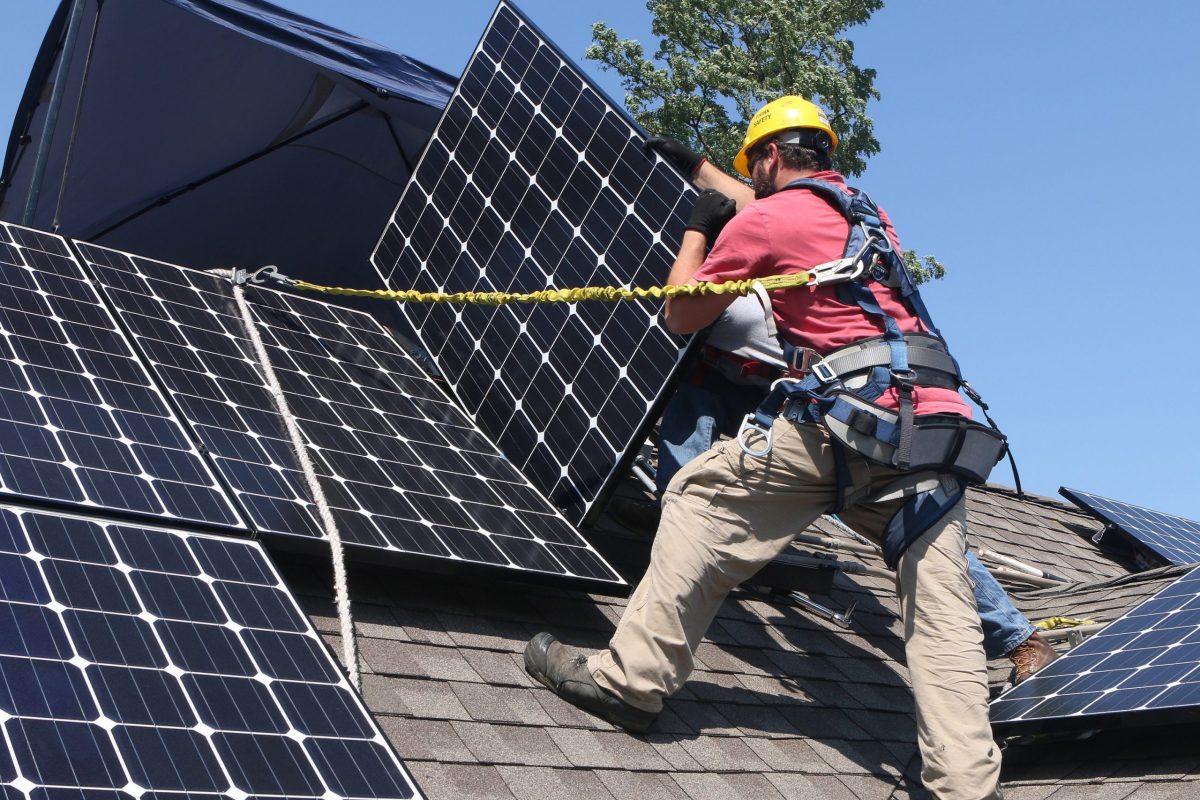
Expert installers follow a precise sequence: mounting the racking system, securing panels, connecting wiring, and installing power inverters. Each step requires meticulous attention to detail, from ensuring proper weatherproofing to maintaining strict safety protocols. Understanding these fundamentals helps homeowners make informed decisions while working with qualified professionals to bring their solar dreams to life.
This guide breaks down the essential steps of solar panel installation, empowering you to navigate the process with confidence and achieve maximum energy independence for your home.
Site Assessment and Planning
Water Body Evaluation
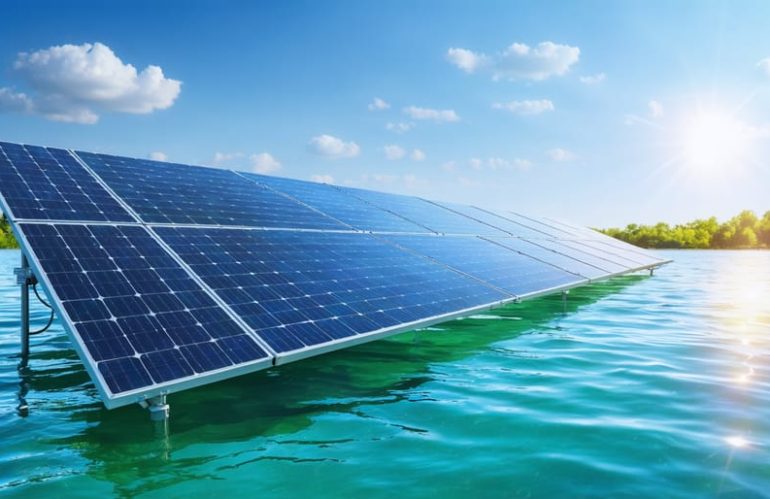
Before installing floating solar panels, a thorough evaluation of the water body is essential for optimal performance and longevity. Start by measuring the water depth at different points, ensuring it’s sufficient to accommodate the floating structure while allowing for seasonal water level fluctuations. The ideal depth should be at least 8 feet to prevent panel damage during low water periods.
Water quality assessment is equally important. Test the water’s pH levels, mineral content, and algae presence, as these factors can affect the durability of floating components. Clear water with minimal debris is ideal, but installation is still possible in waters with moderate particulate content if proper filtration systems are in place.
Surface conditions play a crucial role in system stability. Evaluate wave patterns, wind exposure, and water current strength. Areas with calm waters are preferred, but modern floating solar systems can withstand moderate wave action up to 3 feet. Consider installing wave barriers in more turbulent locations to protect the installation.
Document seasonal changes in water levels and ice formation if applicable, as these factors will influence the mooring system design and overall installation strategy.
Environmental Impact Studies
Before installing solar panels, it’s crucial to assess the environmental impact and obtain necessary environmental permits for solar installations. Start by conducting a site evaluation to identify any protected species, vegetation, or sensitive habitats that might be affected. Consider factors like shade from trees, wildlife corridors, and local ecosystem balance.
Most residential solar installations require minimal environmental disruption, but you’ll need to check local regulations regarding tree removal, land grading, and runoff management. Some areas may require specific environmental studies, particularly if your property is near wetlands or protected areas.
Common environmental considerations include:
– Glare assessment for nearby properties and wildlife
– Soil stability and erosion control measures
– Storm water management plans
– Bird and wildlife protection measures
– Visual impact on the surrounding landscape
Work with your solar installer to develop mitigation strategies that minimize environmental impact while maximizing solar energy production. Many jurisdictions offer expedited permits for installations that meet pre-approved environmental guidelines, making the process smoother for homeowners.
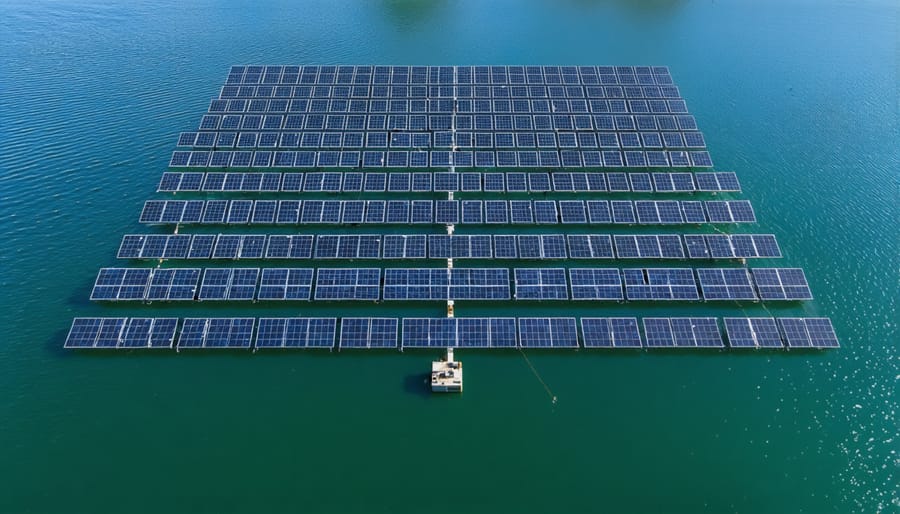
Floating Platform Installation
Platform Assembly
Begin by laying out the platform components on a flat, clean surface near the installation site. The floating base structure consists of high-density polyethylene (HDPE) pontoons that connect together like puzzle pieces. Start from one corner and work your way outward, ensuring each connection is properly aligned and clicked into place.
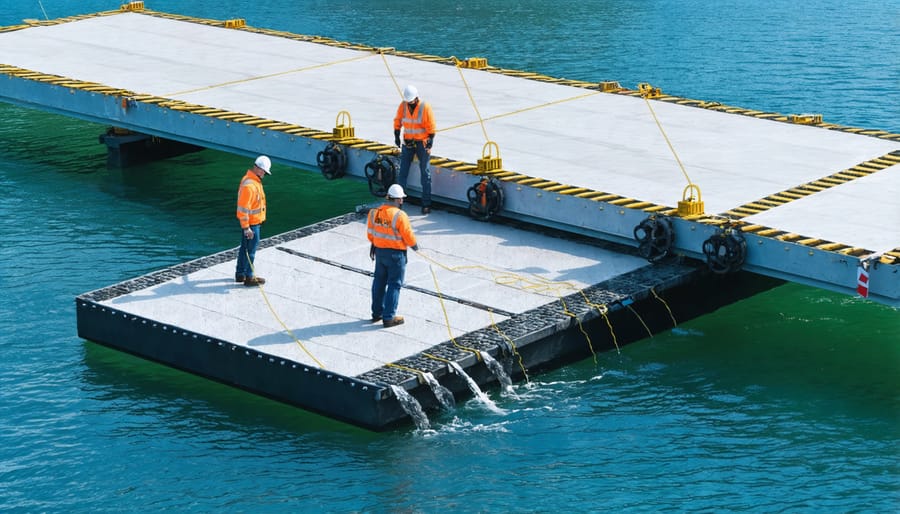
Secure the pontoons using the manufacturer-provided stainless steel brackets and marine-grade fasteners. Double-check that all joints are watertight and properly sealed. Install the reinforcement bars across the platform at specified intervals to provide additional structural support for the solar panels.
Next, attach the anchor points around the platform’s perimeter. These will later connect to the mooring system, keeping your array stable in varying weather conditions. Install the integrated cable management channels that will house your electrical wiring, keeping them safely above water level.
Add the non-slip walkways and maintenance platforms as specified in your design plan. These safety features are crucial for future maintenance access. Finally, conduct a thorough inspection of all connections, ensuring each component is properly secured and level.
Before proceeding to panel mounting, test the platform’s buoyancy by carefully floating it in position. Check for any signs of uneven weight distribution or instability, making adjustments as needed. Remember to follow local regulations regarding water safety and environmental protection throughout the assembly process.
Anchoring Systems
The foundation of a successful solar panel installation lies in choosing and implementing the right anchoring system. For most residential installations, racking systems attach directly to your roof using sturdy mounting hardware. These systems typically include flashing, which prevents water penetration while providing a secure base for your panels.
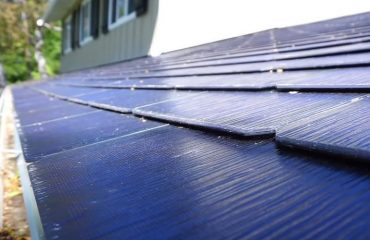
For asphalt shingle roofs, the most common approach uses lag bolts that secure into your roof’s rafters or trusses. These bolts are carefully sealed with weatherproof flashing to maintain your roof’s integrity. For metal roofs, special clamps can attach directly to the seams, eliminating the need for penetrating the roofing material.
Flat roofs require a different approach, typically using ballasted systems that rely on weight rather than penetrating attachments. These systems use heavy concrete blocks or specially designed trays filled with ballast to keep panels secure against wind uplift.
Ground-mounted systems offer another alternative, using concrete foundations or driven piles to create a stable base. These systems require careful soil analysis and proper depth calculations to ensure long-term stability.
Regardless of the mounting method you choose, proper installation is crucial. Each anchor point must be perfectly level and aligned to ensure even weight distribution and optimal panel performance. It’s also important to maintain appropriate spacing between panels for maintenance access and proper airflow.
Solar Panel Mounting
Panel Placement
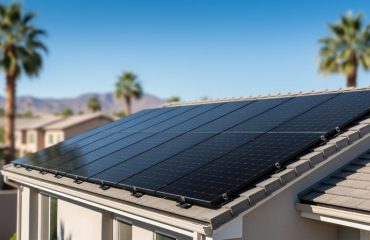
Proper panel placement is crucial for maximizing your solar system’s efficiency. Start by ensuring your panels face true south (in the Northern Hemisphere) or true north (in the Southern Hemisphere) for optimal sun exposure. The ideal tilt angle should match your latitude, though this can be adjusted seasonally for maximum energy production.
Leave adequate spacing between panels to prevent shading and allow for proper ventilation. Generally, maintain a gap of 1/4 to 1/2 inch between panels and ensure at least 3 inches of clearance between the roof and panels for airflow. This spacing helps prevent overheating and maintains system efficiency.
Consider your roof’s layout and avoid placing panels near chimneys, vents, or other obstacles that could cast shadows. Even partial shading on one panel can significantly reduce the entire system’s performance. For multiple panel rows, calculate the proper row spacing to prevent inter-row shading, typically 2-3 feet between rows depending on your location and roof pitch.
Mark your mounting points carefully before installation, ensuring they align with roof rafters for structural support. Use chalk lines or laser levels to maintain straight, aesthetically pleasing panel rows that complement your home’s appearance.
Securing Mechanisms
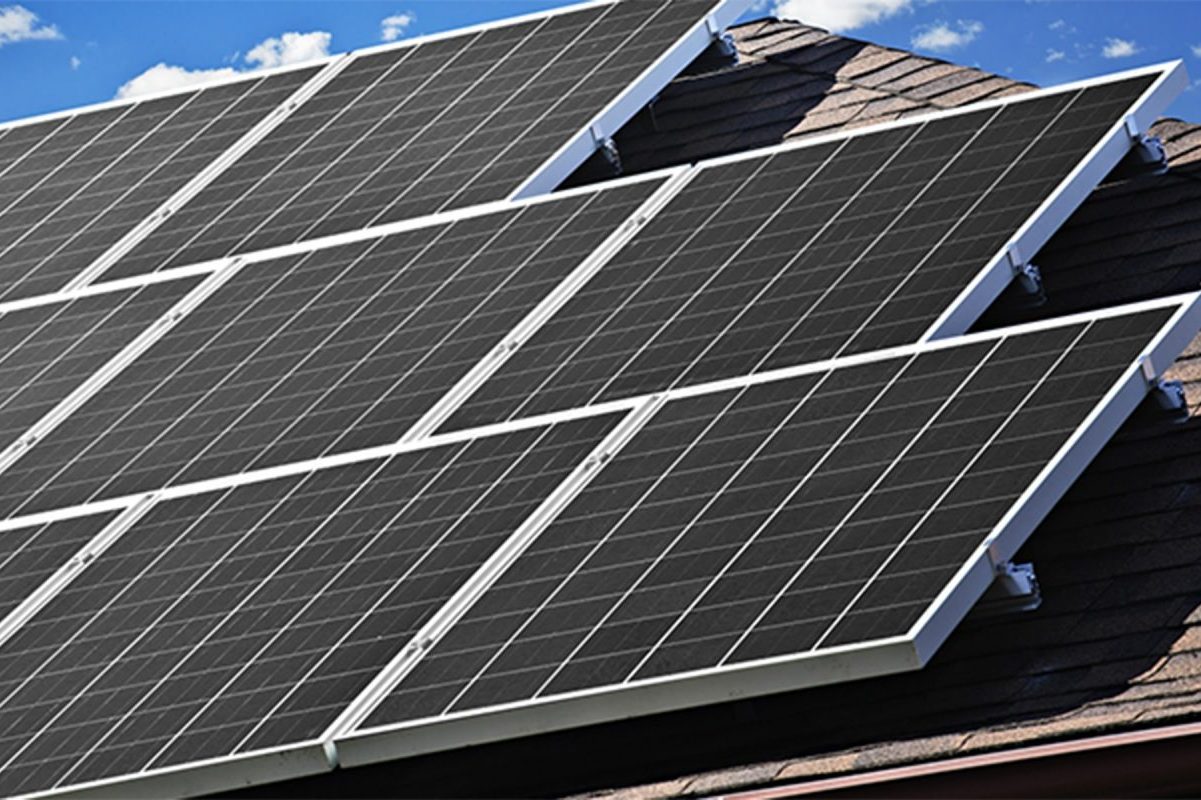
Proper securing of your solar panels is crucial for long-term performance and safety. Start by installing high-quality mounting rails that match your roof type, ensuring they’re anchored into the roof’s structural supports or rafters. Use stainless steel lag bolts with rubber washers to create waterproof seals at each attachment point, preventing any potential leaks.
For added weather protection, install flashing around all roof penetrations. These metal or rubber barriers direct water away from mounting holes and protect your roof’s integrity. When securing the panels to the rails, use mid-clamps between panels and end-clamps at the array’s edges, tightening them to the manufacturer’s specified torque requirements.
Don’t forget to implement a proper grounding system using copper wire and appropriate grounding lugs. This protects your system from lightning strikes and electrical surges. For areas with high wind exposure, consider additional wind clips or reinforced mounting hardware.
Finally, inspect all securing points twice before finishing the installation. A properly secured solar array should be able to withstand local weather conditions while maintaining optimal positioning for maximum energy production.
Electrical Installation
Wiring Configuration
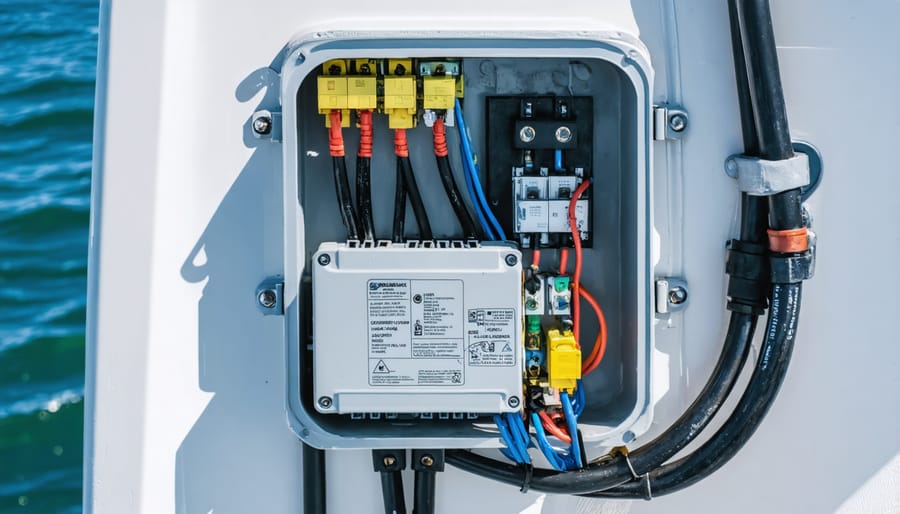
Proper wiring configuration is crucial for the safety and efficiency of your solar panel system. Start by using marine-grade cables specifically designed for water environments, ensuring all connections are properly sealed and protected. Install waterproof wiring systems that can withstand constant exposure to moisture and varying weather conditions.
Connect your panels in series or parallel configurations based on your system’s voltage requirements. Use waterproof junction boxes to house all electrical connections, and ensure they’re mounted above the water line. Install proper grounding systems to protect against electrical surges and lightning strikes.
Always use UV-resistant cable conduits to protect wiring from sun damage and prevent degradation over time. Double-check all connections with weatherproof connectors and apply marine-grade sealant at connection points. Remember to leave enough slack in the cables to accommodate water movement and panel adjustments.
For maximum safety, install quick-disconnect switches that allow you to isolate sections of the system during maintenance or emergencies. This setup ensures both optimal performance and peace of mind.
Safety Systems
Safety should always be your top priority when installing solar panels, and proper grounding is essential. A well-designed grounding system protects both your solar installation and your home from electrical surges and lightning strikes. Start by installing copper grounding rods at least 8 feet deep into the earth, connecting them to your solar panel frames and mounting equipment using appropriate grounding conductors.
Your system should include surge protection devices (SPDs) at key points to safeguard against power spikes. These devices act as a safety valve, directing excess voltage safely into the ground rather than through your expensive solar equipment or home electrical system.
Don’t forget to install lightning arrestors on taller components of your solar array. These devices provide an additional layer of protection during storms by creating a preferred path for lightning to follow to the ground.
Remember to check local building codes, as grounding requirements can vary by region. Having a licensed electrician verify your grounding system can give you peace of mind and ensure your installation meets all safety standards.
Maintenance and Monitoring
Regular Maintenance Tasks
To keep your solar panels performing at their best, following a regular solar panel maintenance schedule is essential. Clean your panels every 3-6 months using water and a soft brush to remove dust, leaves, and bird droppings. During cleaning, inspect for any physical damage, loose connections, or degraded sealants. Monitor your system’s performance through your inverter display or monitoring app to catch any efficiency drops early.
Check the mounting hardware annually to ensure all brackets and bolts remain tight and secure. Trim any overhanging branches that could shade your panels or drop debris. During winter, clear snow accumulation using appropriate tools designed for solar panels. Keep detailed records of your maintenance activities and energy production to track system performance over time.
Contact your installer for annual professional inspections to verify electrical connections and overall system health. This proactive approach helps maximize your solar investment’s lifespan and efficiency.
Performance Tracking
Once your solar panel system is up and running, monitoring its performance is crucial for ensuring optimal energy production. Most modern solar installations come with a user-friendly monitoring system that connects to your smartphone or computer. These apps provide real-time data about your system’s energy generation, helping you track daily, monthly, and yearly production.
Keep an eye on your energy bills to compare pre- and post-installation consumption patterns. Many monitoring systems also alert you to potential issues, such as unexpected drops in performance that might indicate maintenance needs. Regular checks of your inverter’s display panel can provide quick insights into daily production levels.
Consider maintaining a simple performance log to track seasonal variations and long-term trends. This information becomes valuable for future maintenance decisions and helps verify that your system is delivering the expected return on investment. Most solar installations should maintain 80% or better of their rated efficiency over their lifetime with proper monitoring and maintenance.
Installing solar panels is a significant step toward energy independence and environmental sustainability. Throughout this guide, we’ve covered the essential steps from initial assessment to final connection, highlighting the importance of proper planning and execution. While DIY installation might seem tempting, professional installation ensures optimal performance, safety, and compliance with local regulations.
Remember that proper installation directly impacts your system’s efficiency and longevity. Professional installers bring expertise in roof structural assessment, electrical systems, and safety protocols. They also handle necessary permits, understand local building codes, and ensure your installation meets warranty requirements.
The investment in professional installation typically pays for itself through improved system performance, reduced risk of damage, and proper documentation for insurance and warranty purposes. Additionally, certified installers can help you maximize available tax incentives and rebates, making the overall investment more cost-effective.
By choosing to go solar, you’re not just reducing your energy bills; you’re contributing to a more sustainable future. With proper installation and maintenance, your solar panel system can provide clean, reliable energy for 25-30 years or more. Take the time to research qualified installers, understand your options, and make informed decisions about your solar investment. The effort you put into proper installation today will reward you with decades of renewable energy tomorrow.