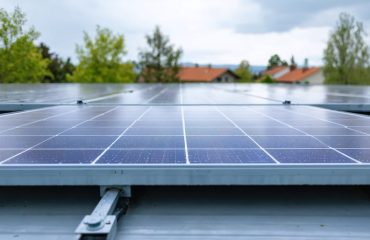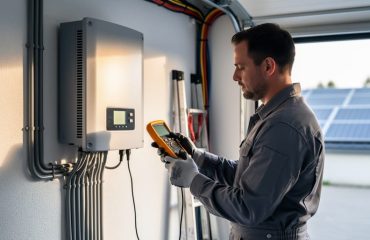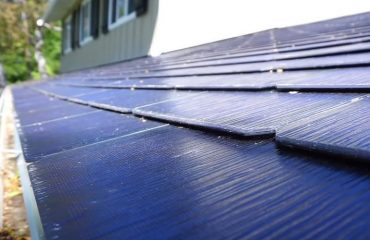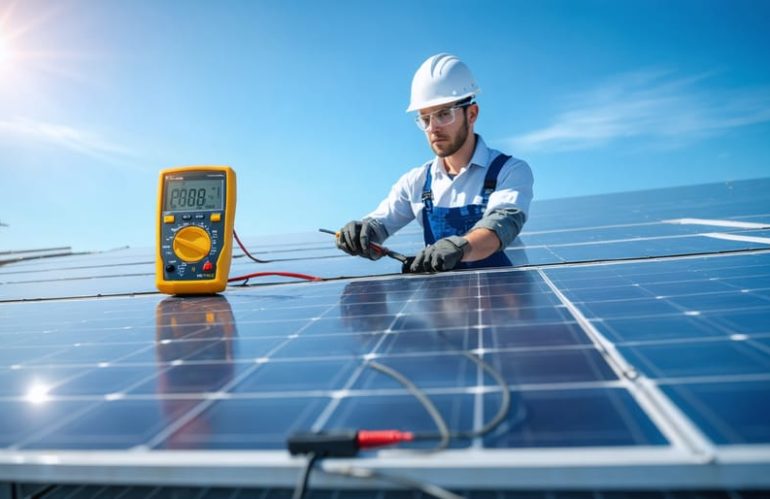
Testing your solar panels with a multimeter represents a crucial part of regular solar panel maintenance that can save thousands in repair costs and ensure optimal energy production. Measure voltage output across individual panels during peak sunlight hours to identify underperforming units. Check amperage readings to verify current flow meets manufacturer specifications and detect potential wiring issues. Monitor resistance levels between terminals to spot degradation or connection problems before they escalate into system failures. While basic testing helps homeowners understand their system’s health, complex electrical issues should always be handled by certified professionals. Armed with a quality digital multimeter and proper safety precautions, you can effectively track your solar installation’s performance and maximize your renewable energy investment.
Essential Tools and Safety Precautions
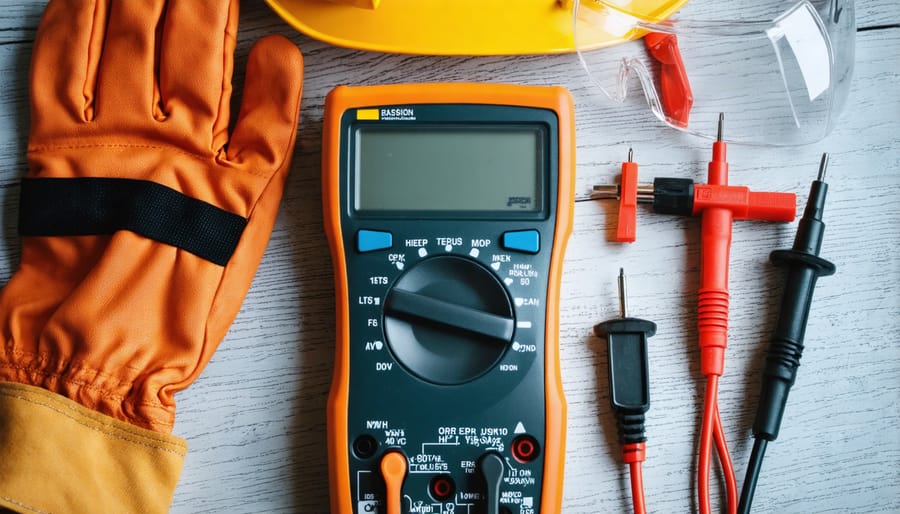
Required Testing Equipment
To test your solar panels effectively, you’ll need a quality digital multimeter that can measure both DC voltage and current. Look for a multimeter with a voltage range of at least 0-50V DC and current measuring capability up to 10A. Make sure your multimeter has well-insulated test leads and proper safety certification.
Additional essential tools include:
– Protective gloves (rubber or electrical-grade)
– Safety glasses
– Clean cloth for wiping panel surfaces
– Notebook and pen for recording measurements
– Basic toolkit with screwdrivers
– Cable ties or clips for securing loose wires
For more accurate readings, consider investing in a multimeter with data logging capabilities and auto-ranging features. While basic models work fine for routine checks, advanced features can help track panel performance over time. Always ensure your equipment is in good working condition and properly calibrated before testing.
Safety First: What You Need to Know
Before testing your solar panels with a multimeter, prioritize your safety with these essential precautions. Always work during daylight hours in dry conditions, and wear rubber-soled shoes and insulated gloves. Never test panels during storms or when they’re wet. Keep your working area clear of metal objects and ensure you’re standing on a dry, non-conductive surface.
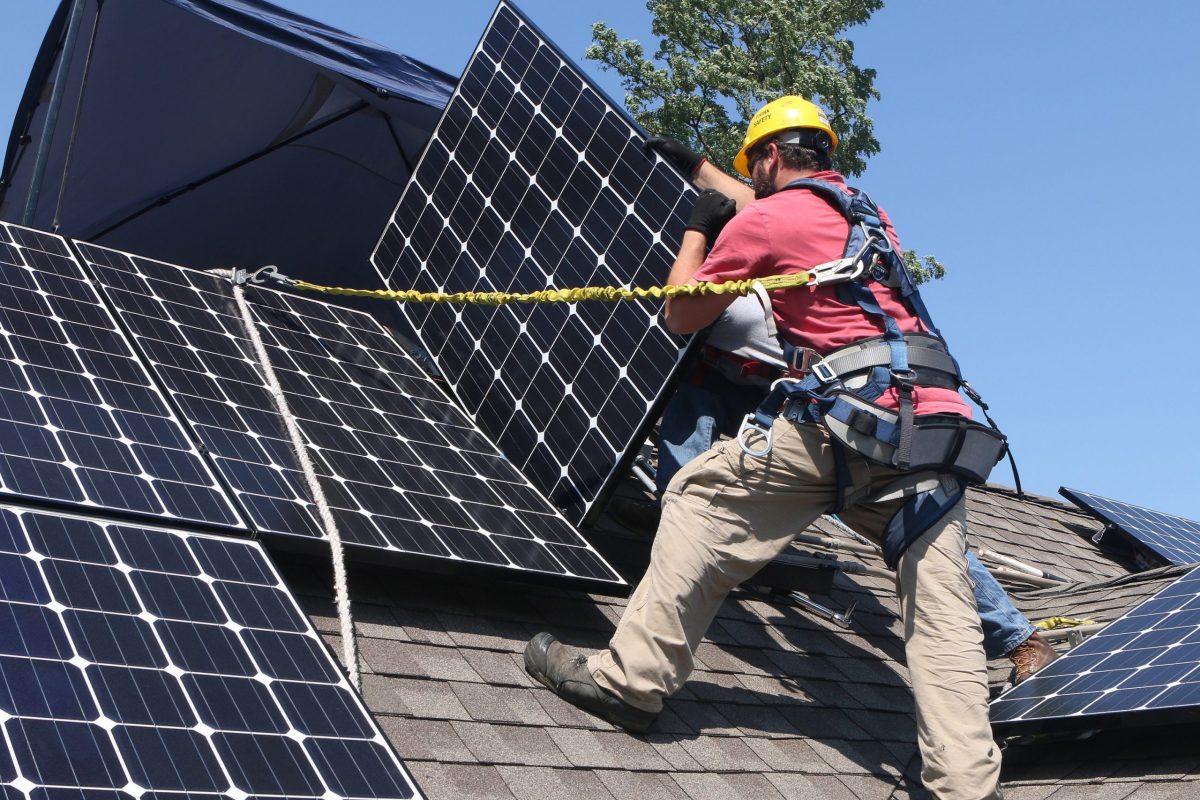
If your solar panels are roof-mounted, avoid testing them unless you have proper fall protection equipment. For ground-level testing, make sure all power to the system is turned off at the main disconnect switch. Remember that solar panels continue producing voltage even when disconnected from the system, so handle all wiring with care.
If you’re unsure about any aspect of testing, or if your system is showing signs of serious malfunction, it’s best to contact a certified solar technician.
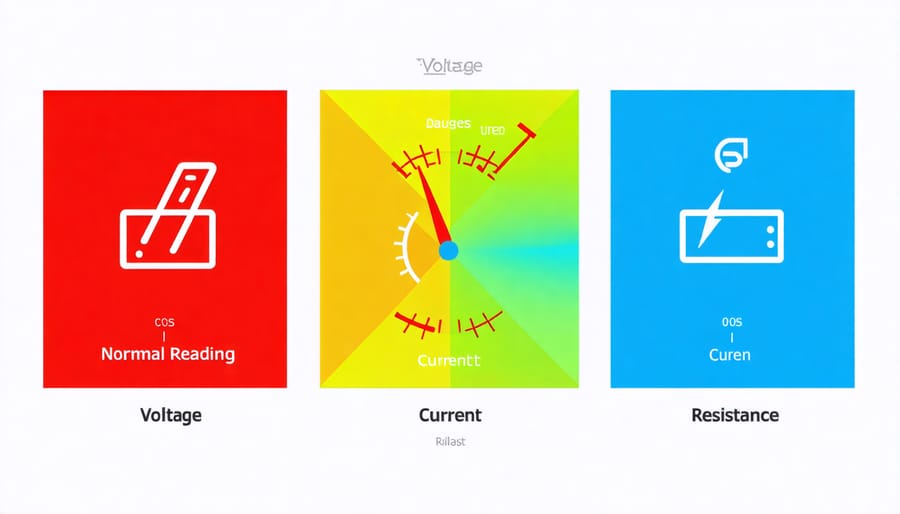
Step-by-Step Testing Process
Measuring Voltage (Open Circuit)
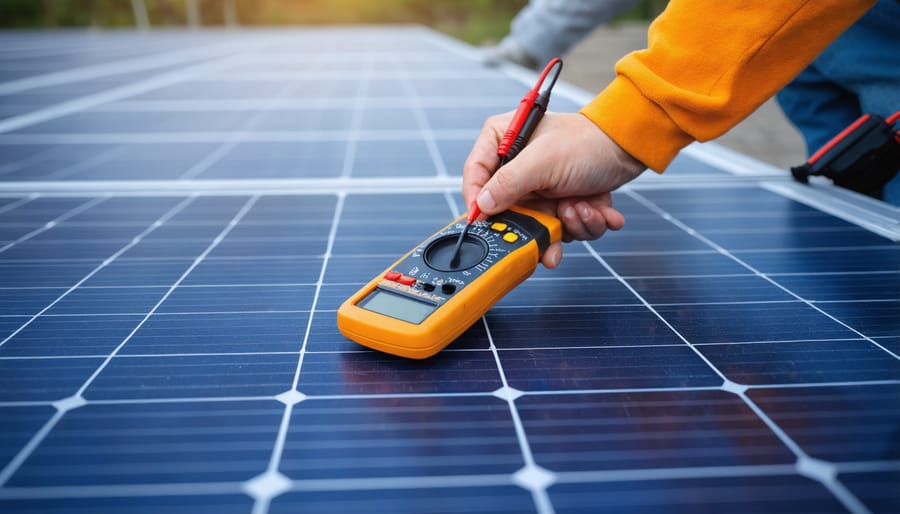
To measure your solar panel’s voltage, start by setting your digital multimeter to DC voltage mode (typically marked as “V” with a straight line). Most residential solar panels have a maximum voltage of solar panels between 30-45 volts, so set your meter’s range accordingly.
Ensure your solar panel is receiving direct sunlight and disconnect it from any charge controllers or inverters. Connect the multimeter’s red (positive) probe to the panel’s positive terminal and the black (negative) probe to the negative terminal. Hold the probes firmly in place and wait for the reading to stabilize.
A healthy solar panel should show a voltage reading close to its rated open circuit voltage (Voc), which you can find on the panel’s specification label. If you’re testing during optimal conditions (bright, direct sunlight), your reading should be within 10% of this rating.
Remember that voltage readings can vary based on factors like time of day, weather conditions, and panel temperature. For the most accurate results, take measurements during peak sunlight hours (typically between 10 AM and 2 PM) on a clear day. If your readings are significantly lower than expected, this could indicate potential issues that need further investigation.
Testing Current Output
To measure your solar panel’s current output, you’ll need to set your multimeter to the DC amperage (A or mA) setting. Start by connecting the red probe to the positive terminal and the black probe to the negative terminal of your solar panel. Make sure your panel is positioned in direct sunlight for accurate readings.
For optimal results, take measurements during peak sunlight hours (typically between 10 AM and 2 PM). Hold the probes steady against the terminals and wait for the reading to stabilize. A healthy solar panel should show a current reading that’s close to its rated amperage under full sunlight conditions.
Remember to test your panels regularly, ideally every 3-6 months, to track their performance over time. If you notice a significant drop in current output compared to previous readings, this could indicate potential issues like dust accumulation, shade problems, or panel degradation.
Keep a log of your measurements, including the time of day, weather conditions, and temperature. This information helps you establish a baseline for your panel’s performance and makes it easier to spot any concerning trends.
If your readings are consistently lower than expected, try cleaning your panels first. Should the problem persist, it’s wise to consult with a solar professional who can perform more detailed diagnostics.
Safety tip: Never disconnect or connect the probes while your solar panel is actively generating power, as this could create a dangerous arc.
Checking Panel Resistance
Testing your solar panel’s internal resistance is a crucial step in evaluating its overall health and efficiency. To begin, ensure your multimeter is set to the ohms (Ω) setting. With the panel disconnected from any power system, place the red probe on the positive terminal and the black probe on the negative terminal.
A properly functioning solar panel should show a resistance reading between 10 and 30 ohms in most cases. Higher readings might indicate internal damage or degradation, while extremely low readings could suggest a short circuit. Remember that resistance readings can vary slightly based on the panel’s size and specifications.
For the most accurate results, perform this test when the panel is at room temperature and away from direct sunlight. If you notice significant variations from the manufacturer’s specifications or between identical panels in your system, this could signal potential issues that need attention.
Keep in mind that resistance readings can fluctuate slightly based on environmental conditions. Take multiple readings at different times of day for a more comprehensive assessment. If you consistently get unusual readings or infinite resistance, it’s best to consult a solar professional for a thorough evaluation.
This simple test can help you identify potential problems before they affect your system’s performance, helping maintain optimal energy production from your solar investment.
Understanding Your Test Results
Normal vs. Abnormal Readings
A properly functioning solar panel should typically show a voltage reading between 17-22 volts in direct sunlight when measuring open circuit voltage. For current readings, expect between 3-9 amps depending on your panel’s specifications and sunlight conditions. The exact numbers will vary based on your panel’s rated capacity, but they should be reasonably close to the manufacturer’s specifications (usually listed on the back of the panel).
Warning signs to watch for include:
– Voltage readings below 10 volts in full sunlight
– Zero or extremely low current readings
– Significant differences (more than 20%) between identical panels
– Fluctuating readings when the meter is held steady
– Reverse polarity readings (negative values)
If you notice any of these red flags, first verify your testing conditions are optimal: ensure it’s a sunny day, panels are clean, and connections are secure. If the unusual readings persist, it’s best to consult a solar professional, as these could indicate serious issues like damaged cells, faulty wiring, or degraded components.
Remember that readings taken in cloudy conditions or late in the day will naturally be lower than peak performance values.
When to Call a Professional
While testing your solar panels with a multimeter is a valuable DIY skill, certain situations require professional expertise. If you notice significant power output drops that can’t be explained by common solar panel issues, it’s time to call an expert. Professional help is essential when you encounter inconsistent voltage readings across multiple panels, suspect internal damage, or notice physical deterioration like cracks or severe discoloration.
Additionally, if your warranty is still valid, attempting complex repairs yourself might void it. Contact a certified solar technician when dealing with roof-mounted systems that require working at heights, or if you’re unsure about electrical connections and safety protocols. Signs like burning smells, visible damage to wiring, or complete system failure also warrant immediate professional attention.
Remember, while DIY testing can identify basic issues, solar professionals have specialized equipment and expertise to diagnose and repair complex problems safely. They can also perform comprehensive system audits to ensure your installation continues operating at peak efficiency.
Regular testing of your solar panels with a multimeter is a simple yet powerful way to ensure your solar investment continues performing at its best. By following the testing procedures outlined in this guide, you can quickly identify potential issues before they become major problems, saving both time and money in the long run.
Remember that voltage and current measurements are your primary indicators of panel health, while resistance testing can help spot connection issues. Making these checks part of your routine maintenance schedule – ideally every three to six months – will help maintain optimal system performance and extend the life of your solar installation.
While DIY testing is valuable for basic diagnostics, don’t hesitate to contact a professional if you notice significant variations in readings or aren’t comfortable performing the tests yourself. The small effort invested in regular testing can lead to substantial returns through improved efficiency and early problem detection.
By staying proactive with your solar panel maintenance, you’re not just protecting your investment – you’re ensuring a reliable source of clean energy for years to come. Keep your testing records handy and monitor trends over time to get the most out of your solar power system.