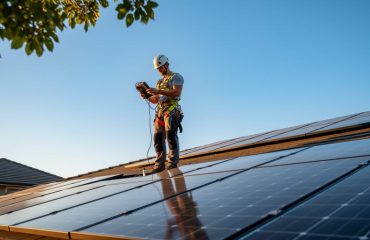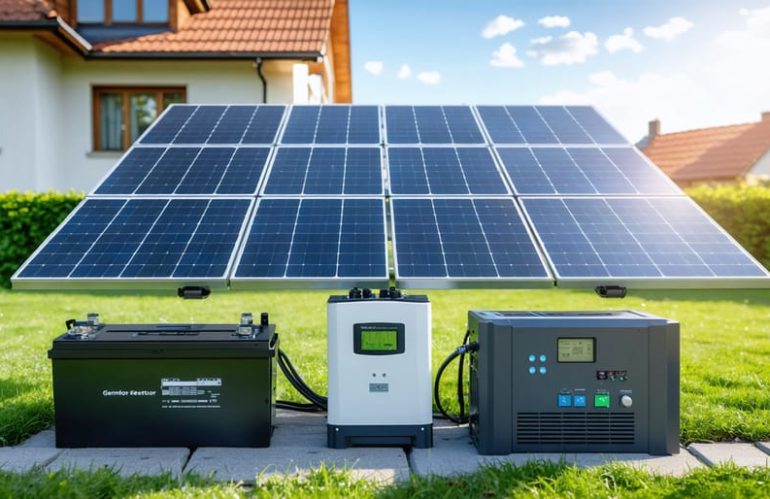
Building your own solar generator offers a practical path to energy independence and emergency preparedness. A well-designed DIY solar generator system, when constructed following legal DIY solar guidelines, can power essential household appliances while significantly reducing your carbon footprint and energy costs. This comprehensive guide walks you through creating a reliable solar generator using readily available components: solar panels, charge controller, battery bank, and inverter. Whether you’re preparing for power outages or embracing sustainable living, understanding the interconnection of these components through detailed diagrams ensures a safe, efficient build that meets your specific power needs. Our step-by-step visual guide eliminates the complexity often associated with solar projects, making this valuable skill accessible to homeowners of all experience levels.
Essential Components of a DIY Solar Generator
Core Components Overview
Building a DIY solar generator starts with gathering the right budget-friendly solar components. Here’s what you’ll need for your project:
Solar Panels: These capture sunlight and convert it into electrical energy. For a basic setup, consider 100-200 watt panels, which offer a good balance of power and portability.
Charge Controller: This essential component regulates the voltage and current coming from your solar panels to your batteries, preventing overcharging and damage. Look for an MPPT controller for better efficiency.
Deep Cycle Batteries: These store the captured solar energy for later use. Lead-acid or lithium batteries are common choices, with lithium offering better performance but at a higher cost.
Power Inverter: This device converts the DC power stored in your batteries into AC power that your household appliances can use. Choose one rated for your expected power needs, typically 1000-2000 watts for basic setups.
Connecting Components: You’ll need:
– Battery cables
– MC4 connectors for solar panels
– Fuses and circuit breakers
– Battery monitor
– Terminal blocks
– Weatherproof housing
Having these components ready ensures a smooth assembly process. Remember to choose quality parts from reputable manufacturers to build a reliable and efficient solar generator.
Sizing Your Components Correctly
Properly sizing your solar generator components is crucial for optimal performance and longevity. Start by calculating your daily power needs in watt-hours, adding up the power consumption of all devices you plan to run. For most home backup systems, aim for a battery capacity that’s 20% larger than your daily usage to account for inefficiencies and preserve battery life.
When selecting solar panels, ensure their combined wattage can recharge your batteries within 5-6 hours of sunlight. A good rule of thumb is to have panel wattage at least 1.5 times your battery capacity in amp-hours. For example, a 100Ah battery would need at least 150 watts of solar panels.
Your charge controller should handle both your panel array’s maximum voltage and current. Choose an MPPT controller for better efficiency, sizing it at least 20% above your panel array’s maximum output. The inverter must match your battery bank’s voltage and provide enough continuous power for your needs, with a surge capacity for motor-driven appliances.
If you’re unsure about calculations or component matching, consider reaching out for DIY solar community support where experienced builders can review your plans and provide guidance. Remember to factor in future expansion when sizing components, as it’s more cost-effective to build with growth in mind.
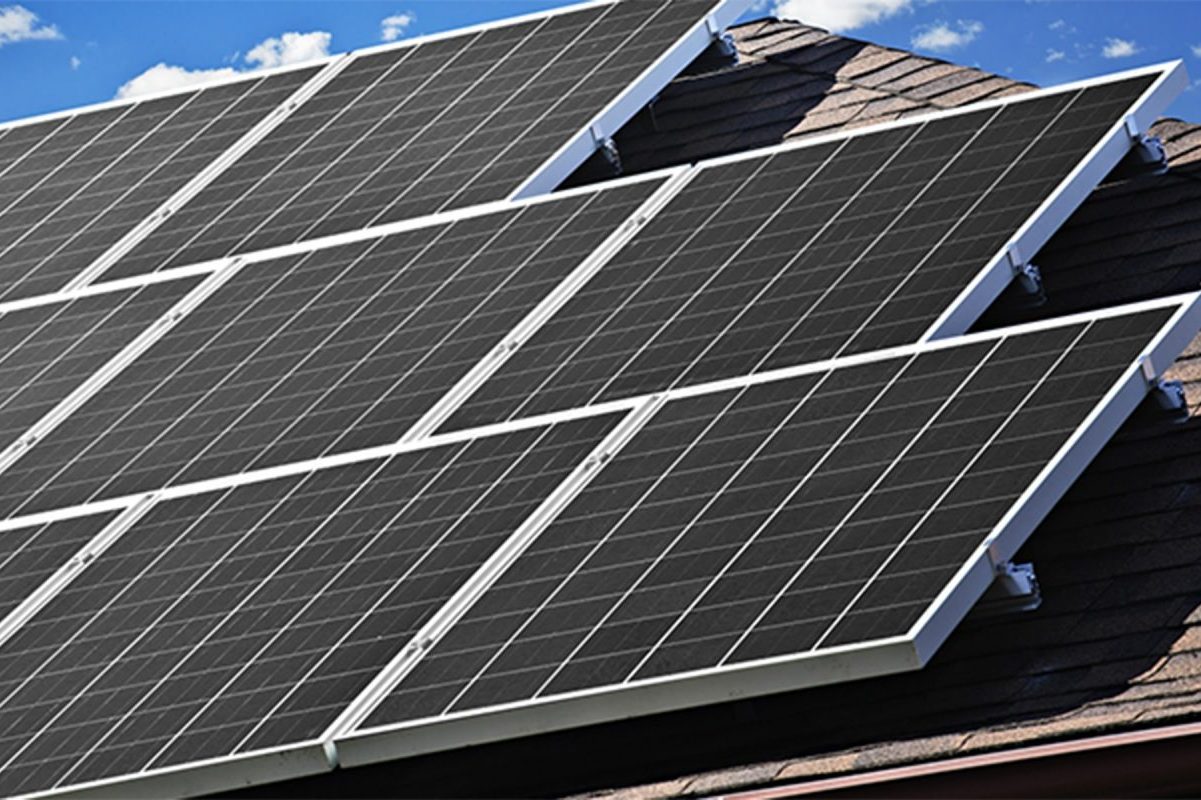
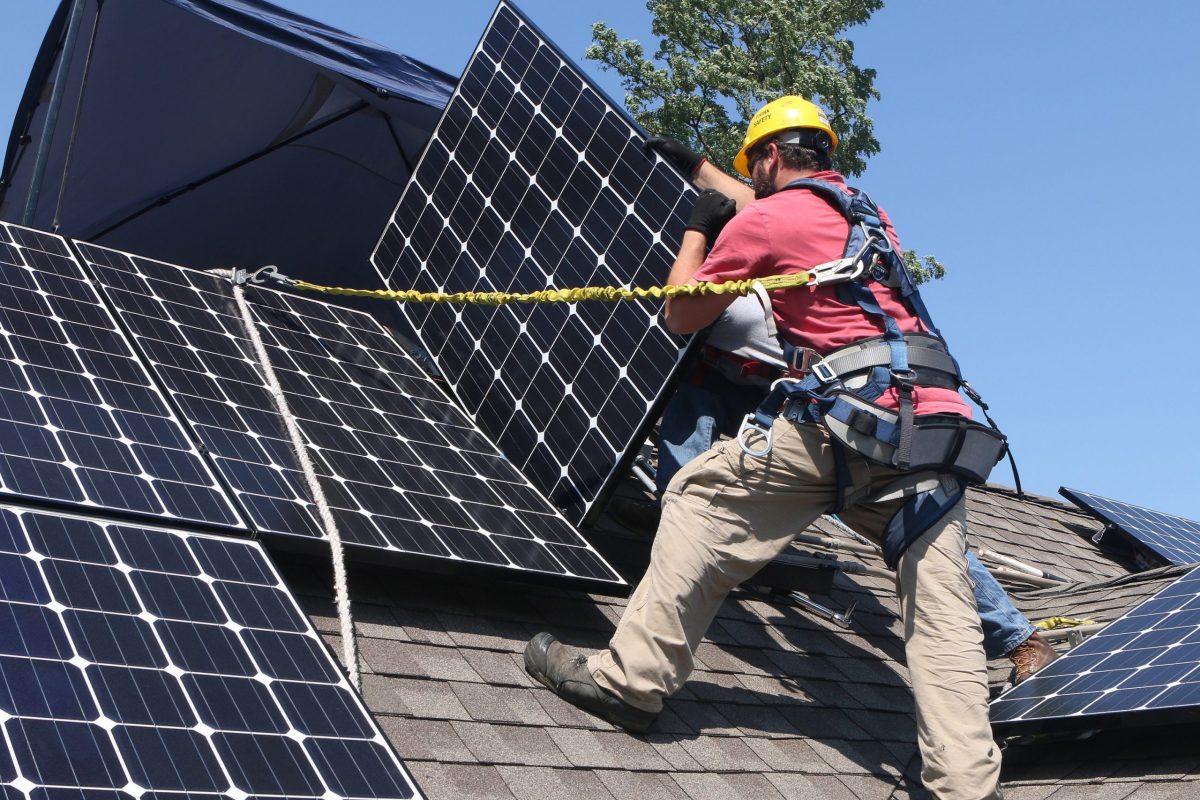
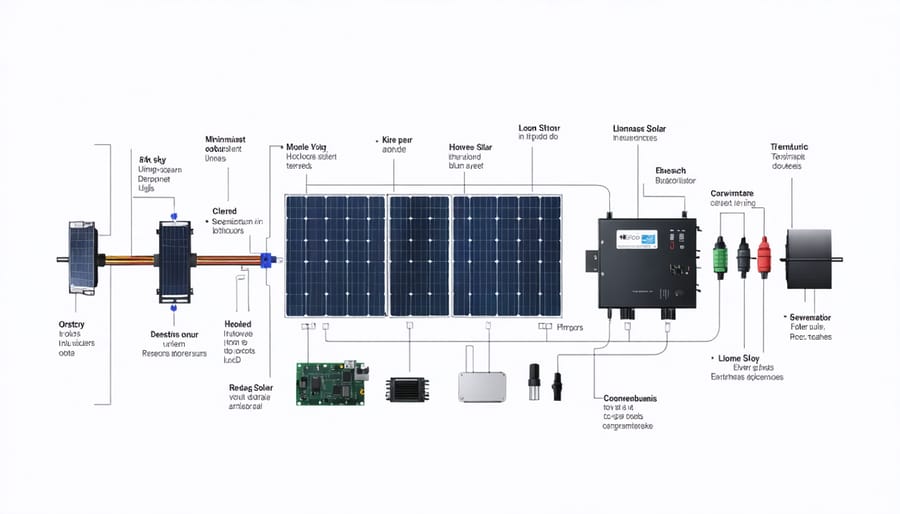
Step-by-Step Assembly Diagram
Wiring Configuration
When connecting your solar generator components, safety and proper wiring are paramount. Start by mounting your charge controller in a central location, as it will serve as the hub for most connections. Connect the battery bank first, using thick red and black cables (typically 8 or 6 AWG) for positive and negative terminals respectively. Always connect the negative (black) wire first, followed by the positive (red).
From the charge controller, run appropriately sized wires to your solar panels. Most residential setups work well with 10 AWG solar cable, but check your specific panel requirements. Install MC4 connectors on the solar panel ends for weather-resistant connections. Remember to include a circuit breaker or fuse between the panels and charge controller for added safety.
Next, wire your inverter directly to the battery bank using heavy-gauge cables (typically 4 or 2 AWG, depending on your system size). Install a large fuse or circuit breaker rated for your inverter’s maximum current draw. Mount the inverter in a well-ventilated area, away from the batteries to prevent exposure to any gases during charging.
For the AC output, connect your inverter to a standard household outlet box with appropriate gauge wire. Include a ground wire connected to your system’s grounding rod. Consider adding a transfer switch if you plan to connect to your home’s electrical panel.
Essential safety features include:
– Battery disconnect switch
– Proper fusing at all major connection points
– Weather-resistant junction boxes
– Strain relief on all cables
– Clear labeling of all components
– Rubber grommets in pass-through holes
Double-check all connections before powering up your system, ensuring all terminals are tight and properly insulated. Keep your wiring neat and organized, using cable ties and conduit where appropriate to protect against physical damage and create a professional-looking installation.
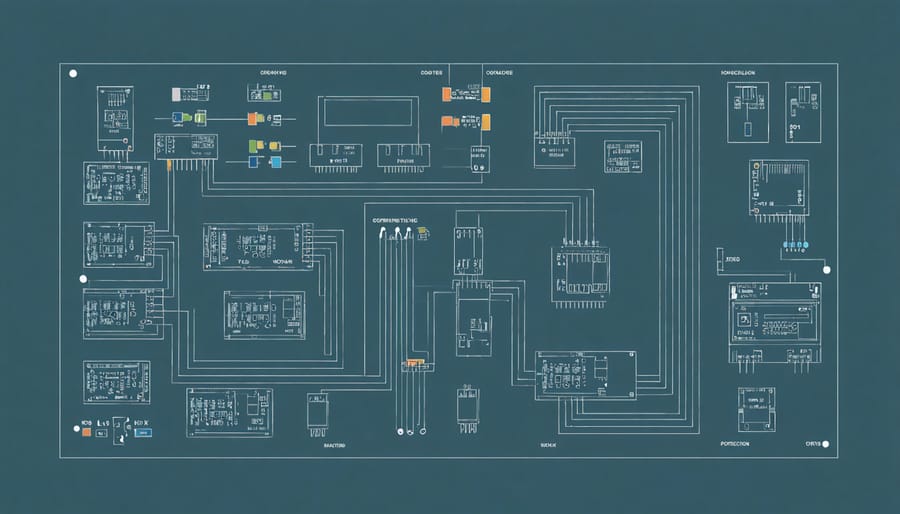
Connection Points and Testing
Once you’ve gathered all your components, proper connection is crucial for your solar generator’s functionality. Start by connecting the solar panels to the charge controller using MC4 connectors, ensuring positive (red) and negative (black) wires are correctly matched. The charge controller then connects to your battery bank, with the positive terminal first, followed by the negative.
When connecting the inverter, attach it directly to the battery using appropriate gauge cables. Remember to keep these cables as short as possible to minimize power loss. Double-check all connections are tight and secure, as loose connections can cause system failure or become potential fire hazards.
Before powering up your system, perform these essential tests:
1. Use a multimeter to verify proper voltage from your solar panels
2. Check battery voltage levels
3. Confirm charge controller display shows correct readings
4. Test inverter output with a simple device like a lamp
Start your initial test during daylight hours. First, verify that the charge controller shows power coming from the solar panels. Next, confirm that the battery is receiving a charge. Finally, test the inverter by plugging in a small appliance.
Common connection issues to watch for include:
– Reversed polarity connections
– Loose wire connections
– Incorrect wire gauges
– Poor grounding
If your system isn’t working as expected, systematically test each component and connection point. Most issues can be traced to simple connection problems or incorrect wiring. Keep your user manuals handy during testing, as they contain valuable troubleshooting information.
For optimal performance, regularly inspect all connection points every few months, checking for corrosion, loose connections, or damaged wires. Clean connections as needed and ensure all components remain securely mounted.
Maintenance and Troubleshooting Tips
Regular Maintenance Checklist
Regular maintenance ensures your DIY solar generator operates efficiently and lasts longer. Follow these monthly and annual tasks to keep your system in top condition.
Monthly Maintenance:
– Check all cable connections for tightness and signs of corrosion
– Clean solar panels with a soft cloth and mild soap solution
– Inspect battery terminals and clean if necessary
– Monitor battery water levels (for flooded lead-acid batteries)
– Verify charge controller display readings
– Test inverter function with a small appliance
– Check ventilation areas for dust buildup
– Inspect mounting hardware for stability
Annual Maintenance:
– Perform thorough system testing under load
– Test battery capacity and voltage readings
– Replace any damaged cables or connectors
– Update system documentation with maintenance records
– Calibrate charge controller settings if needed
– Clean or replace cooling fans
– Check and tighten all electrical connections
– Inspect weather sealing and waterproofing
– Test all safety systems and ground connections
Keep a maintenance log to track performance changes and identify potential issues early. If you notice any significant drops in power output or unusual behavior, address them promptly to prevent system damage. Remember to always disconnect power sources before performing maintenance and wear appropriate safety gear when handling batteries or electrical components.
For optimal performance, schedule your maintenance tasks during early morning or evening hours when solar production is lowest. This minimizes system downtime and ensures thorough inspection in good lighting conditions.
Common Problems and Solutions
When building your DIY solar generator, you might encounter some common challenges. Here’s how to address them effectively:
Insufficient Power Output
If your generator isn’t producing enough power, check your battery’s charge level and ensure all connections are tight. Sometimes, dirty solar panels can reduce efficiency – regular cleaning can solve this issue.
Inconsistent Charging
When your batteries aren’t charging properly, verify that your charge controller settings match your battery type. Also, confirm that your solar panels are positioned correctly and receiving maximum sunlight exposure.
System Shutdowns
Unexpected shutdowns often result from overload protection. Review your power consumption and ensure it doesn’t exceed your inverter’s capacity. Double-check all fuse ratings and replace any that appear damaged.
Battery Issues
If batteries drain too quickly, check for parasitic loads or incorrect wiring. Ensure your battery bank is properly sized for your power needs and maintain proper ventilation to prevent overheating.
For complex issues, you can get expert troubleshooting help from experienced DIY solar enthusiasts. Remember to maintain a regular inspection schedule of all components and keep your system clean for optimal performance.
Safety Tip: Always disconnect power sources before attempting any repairs and use appropriate safety gear when handling electrical components.
Safety Considerations and Best Practices
When building a DIY solar generator, safety should always be your top priority. Start by working in a well-ventilated area and keep a fire extinguisher rated for electrical fires nearby. Always wear appropriate safety gear, including insulated gloves and safety glasses, especially when handling batteries and making electrical connections.
Never attempt to work on live circuits – disconnect all power sources before making any modifications or repairs. Pay special attention to proper wire sizing to prevent overheating and potential fire hazards. Use high-quality, marine-grade cables and ensure all connections are secure and properly insulated.
Keep your battery bank in a well-ventilated enclosure to prevent the buildup of potentially dangerous gases. Install a charge controller to protect your batteries from overcharging and deep discharging, which can significantly reduce their lifespan and pose safety risks.
Ground your system properly to protect against electrical shorts and lightning strikes. Use appropriate fuses and circuit breakers at key points in your setup to prevent electrical overload. When mounting solar panels, ensure they’re securely fastened to withstand strong winds and adverse weather conditions.
Store your solar generator in a dry location away from extreme temperatures and direct sunlight when not in use. Regularly inspect all components for signs of wear, damage, or corrosion. Keep children and pets away from the equipment, and clearly label all major components and safety switches.
Remember to follow local building codes and regulations, and consider having a licensed electrician review your setup before first use. Document all modifications and maintenance for future reference.
Building your own solar generator is an empowering project that can lead to significant energy savings and increased self-reliance. By following the diagram and instructions provided in this guide, you can create a reliable power source for your home or outdoor activities. Remember to prioritize safety throughout the construction process, double-check all connections, and use high-quality components that match your power requirements.
Before starting your build, gather all necessary materials and tools, and carefully review the wiring diagram. If you’re unsure about any step, don’t hesitate to consult with an experienced electrician. Regular maintenance, including checking connections, cleaning solar panels, and monitoring battery health, will ensure your generator’s longevity and optimal performance.
As solar technology continues to advance and become more accessible, DIY solar generators represent an excellent investment in sustainable living. Whether you’re preparing for emergencies or seeking to reduce your carbon footprint, your homemade solar generator will provide clean, renewable energy for years to come. Take the first step today by sourcing your components and beginning this rewarding project.